How to install Tuscan Path Composite Edging

TOOLS YOU'LL NEED:
Before you begin, make sure you have these tools on hand:
Shovel
Pencil
Mallet
Tin snips
Safety glasses and gloves
Edging pegs
(sold separately)
String
Tape measure
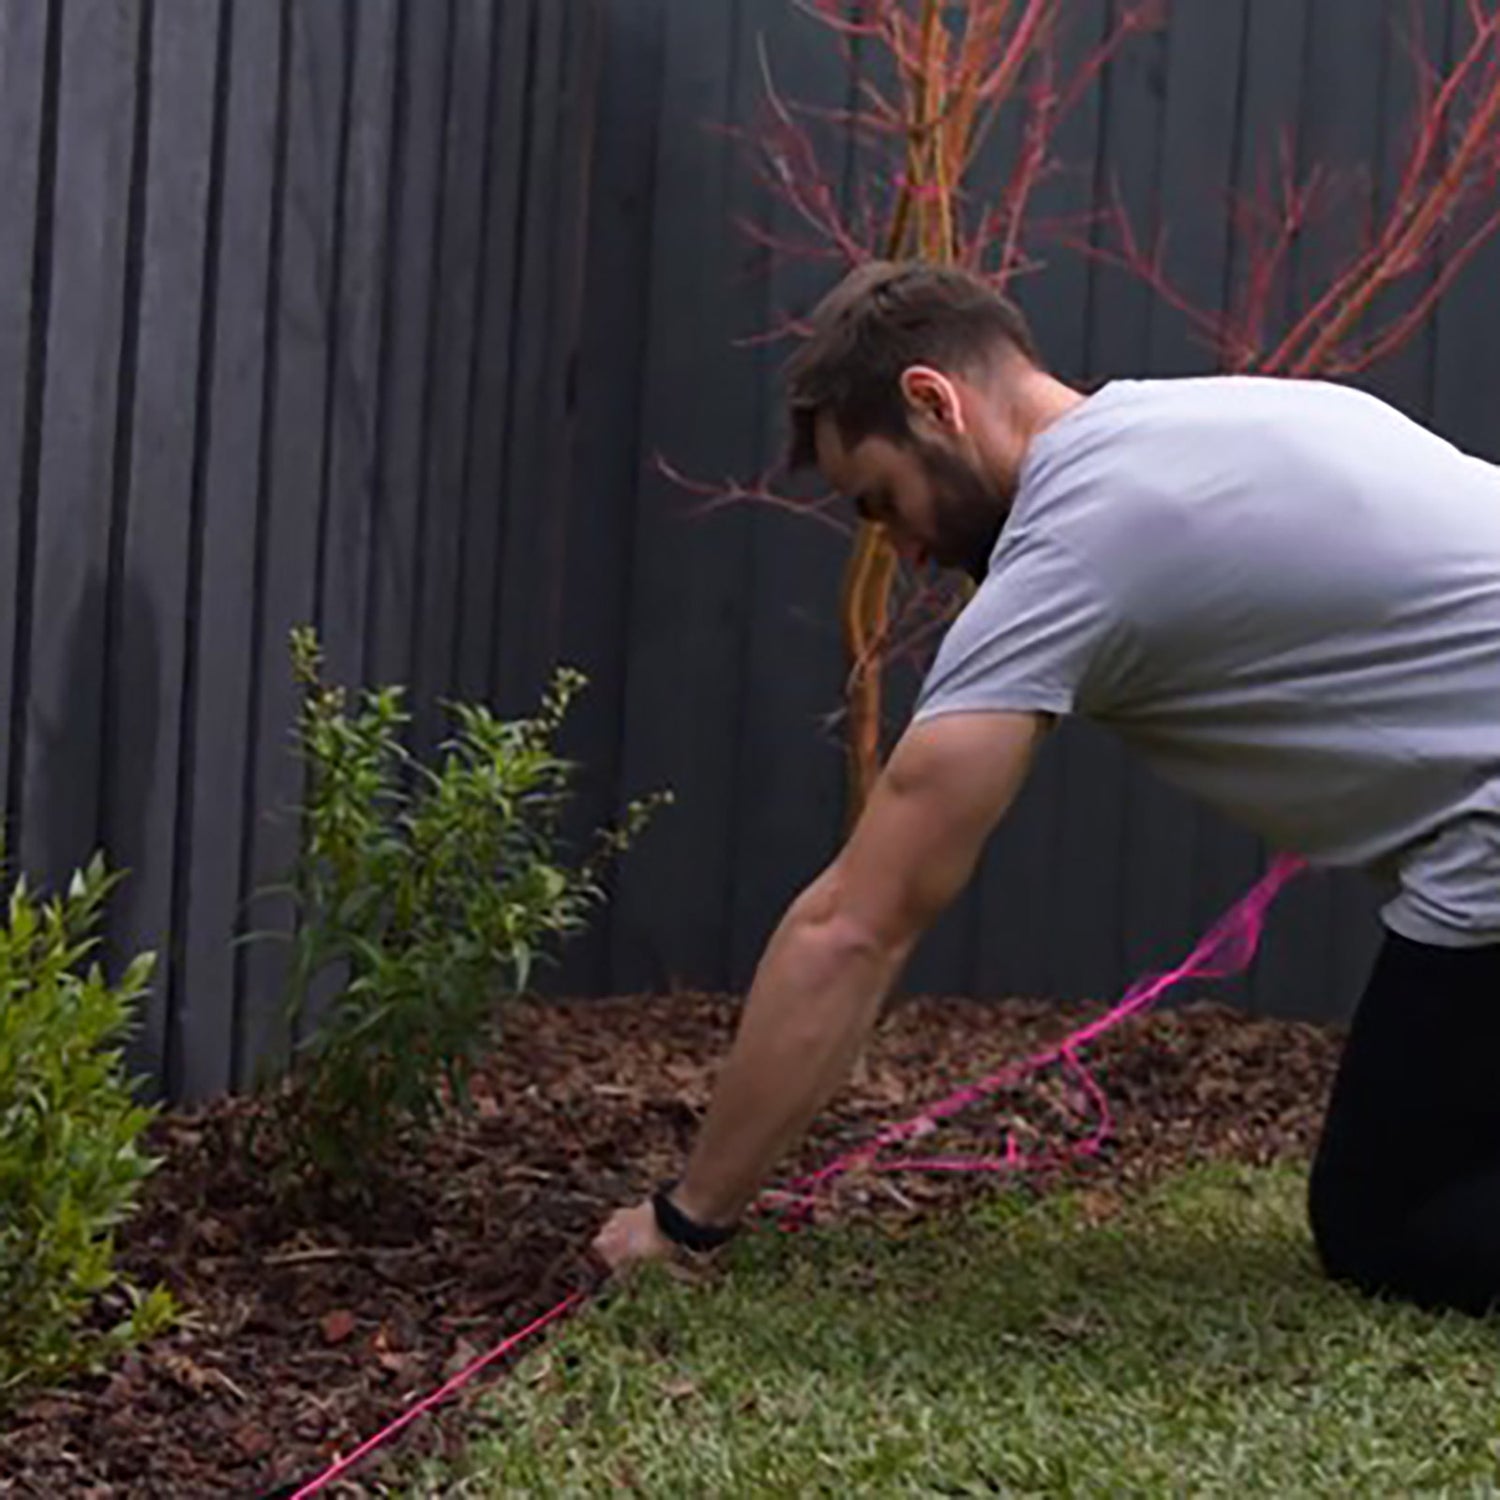
Step 1: Measure Your Area
Start by determining how much edging you'll need:
- Lay out a string line along the perimeter of your garden bed, path, or tree area.
- Measure the total length of the string line and record the measurement.
For example, if your garden bed is 15 meters long, here's how to calculate the number of pieces of edging needed:
- 15 meters ÷ 6 meters (length of each piece of edging) = 2.5 pieces
- Round up to the nearest whole number, so you'll need 3 pieces of edging.
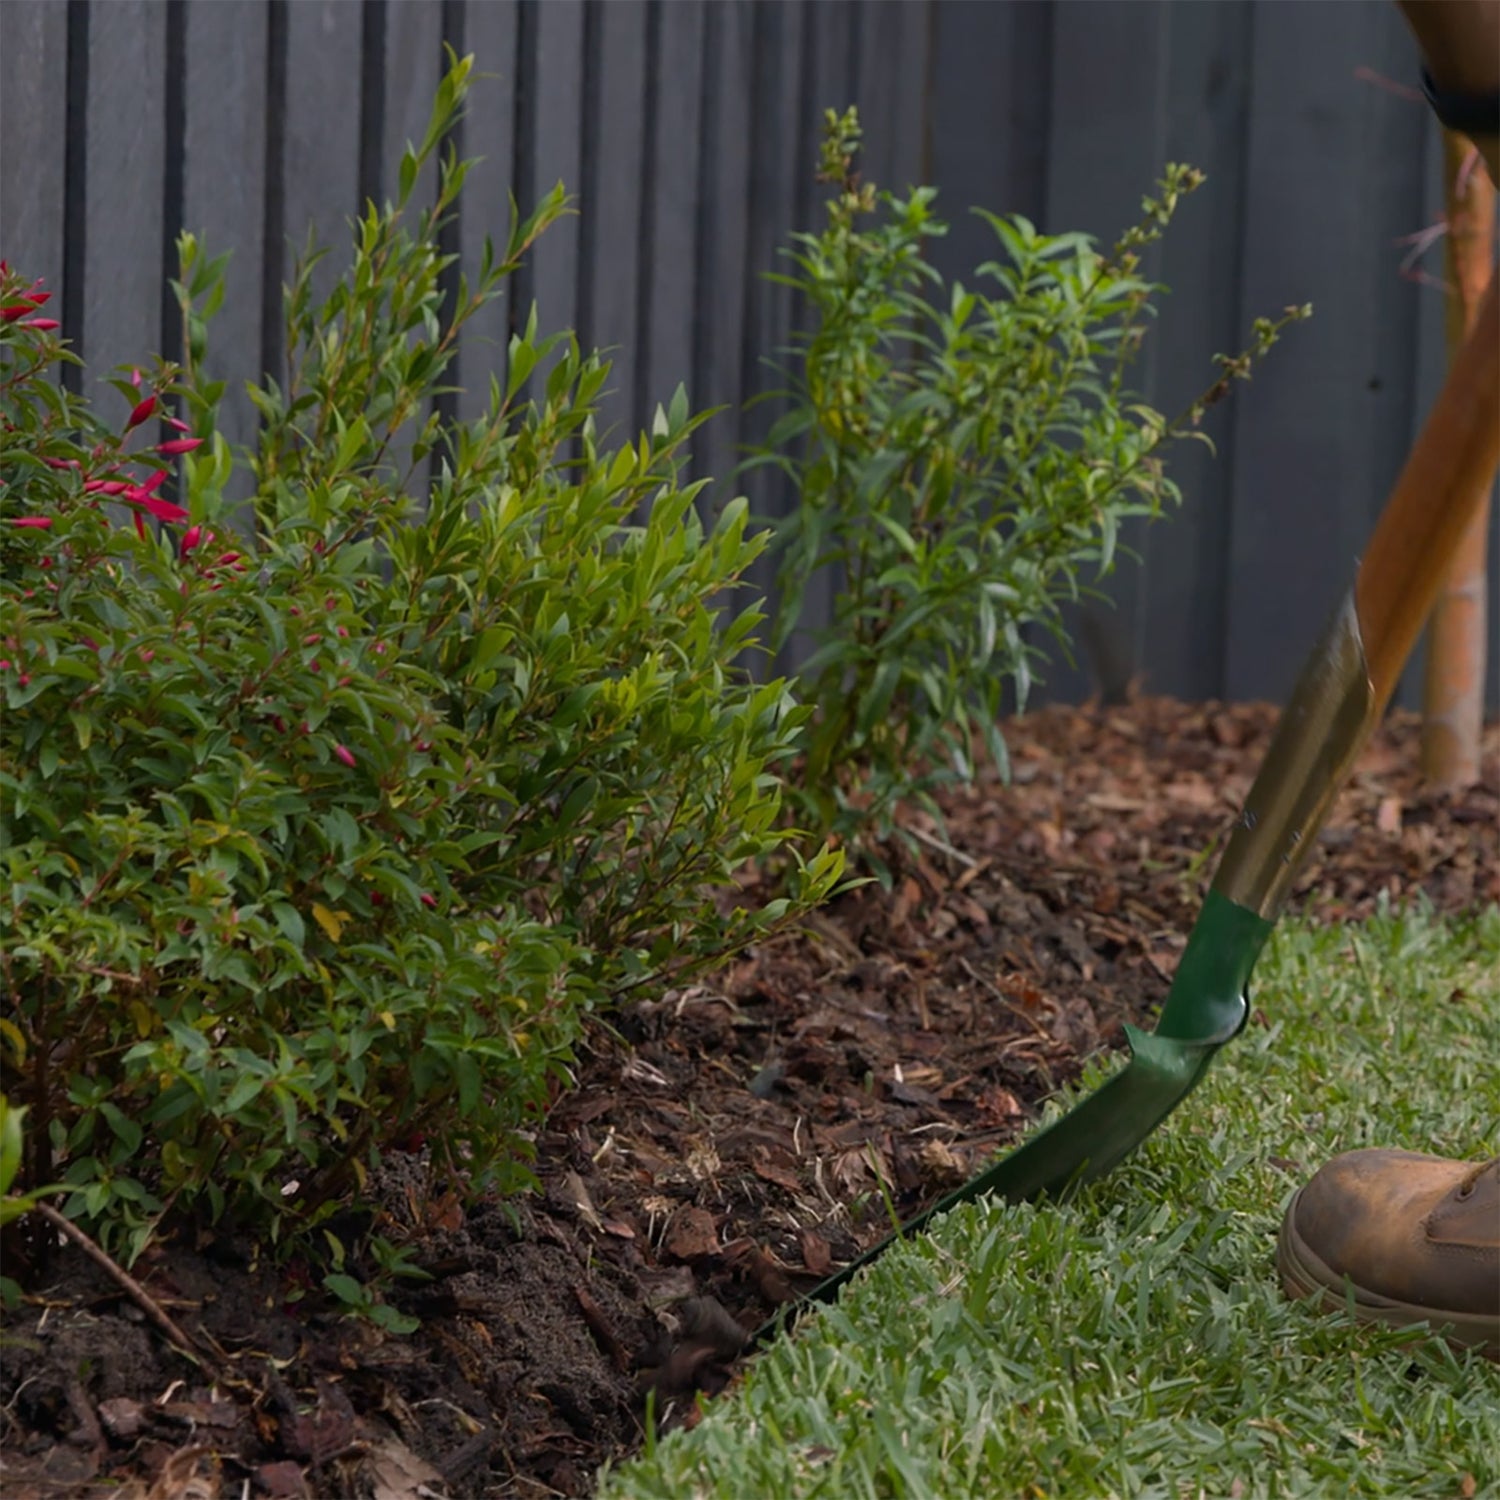
Step 2: Prepare the Area
Next, prepare the area for the installation:
- Dig a trench along the string line. The trench should be about half the height of the edging to ensure it sits securely in the ground.
- Make sure the trench is level and evenly shaped for a neat installation.
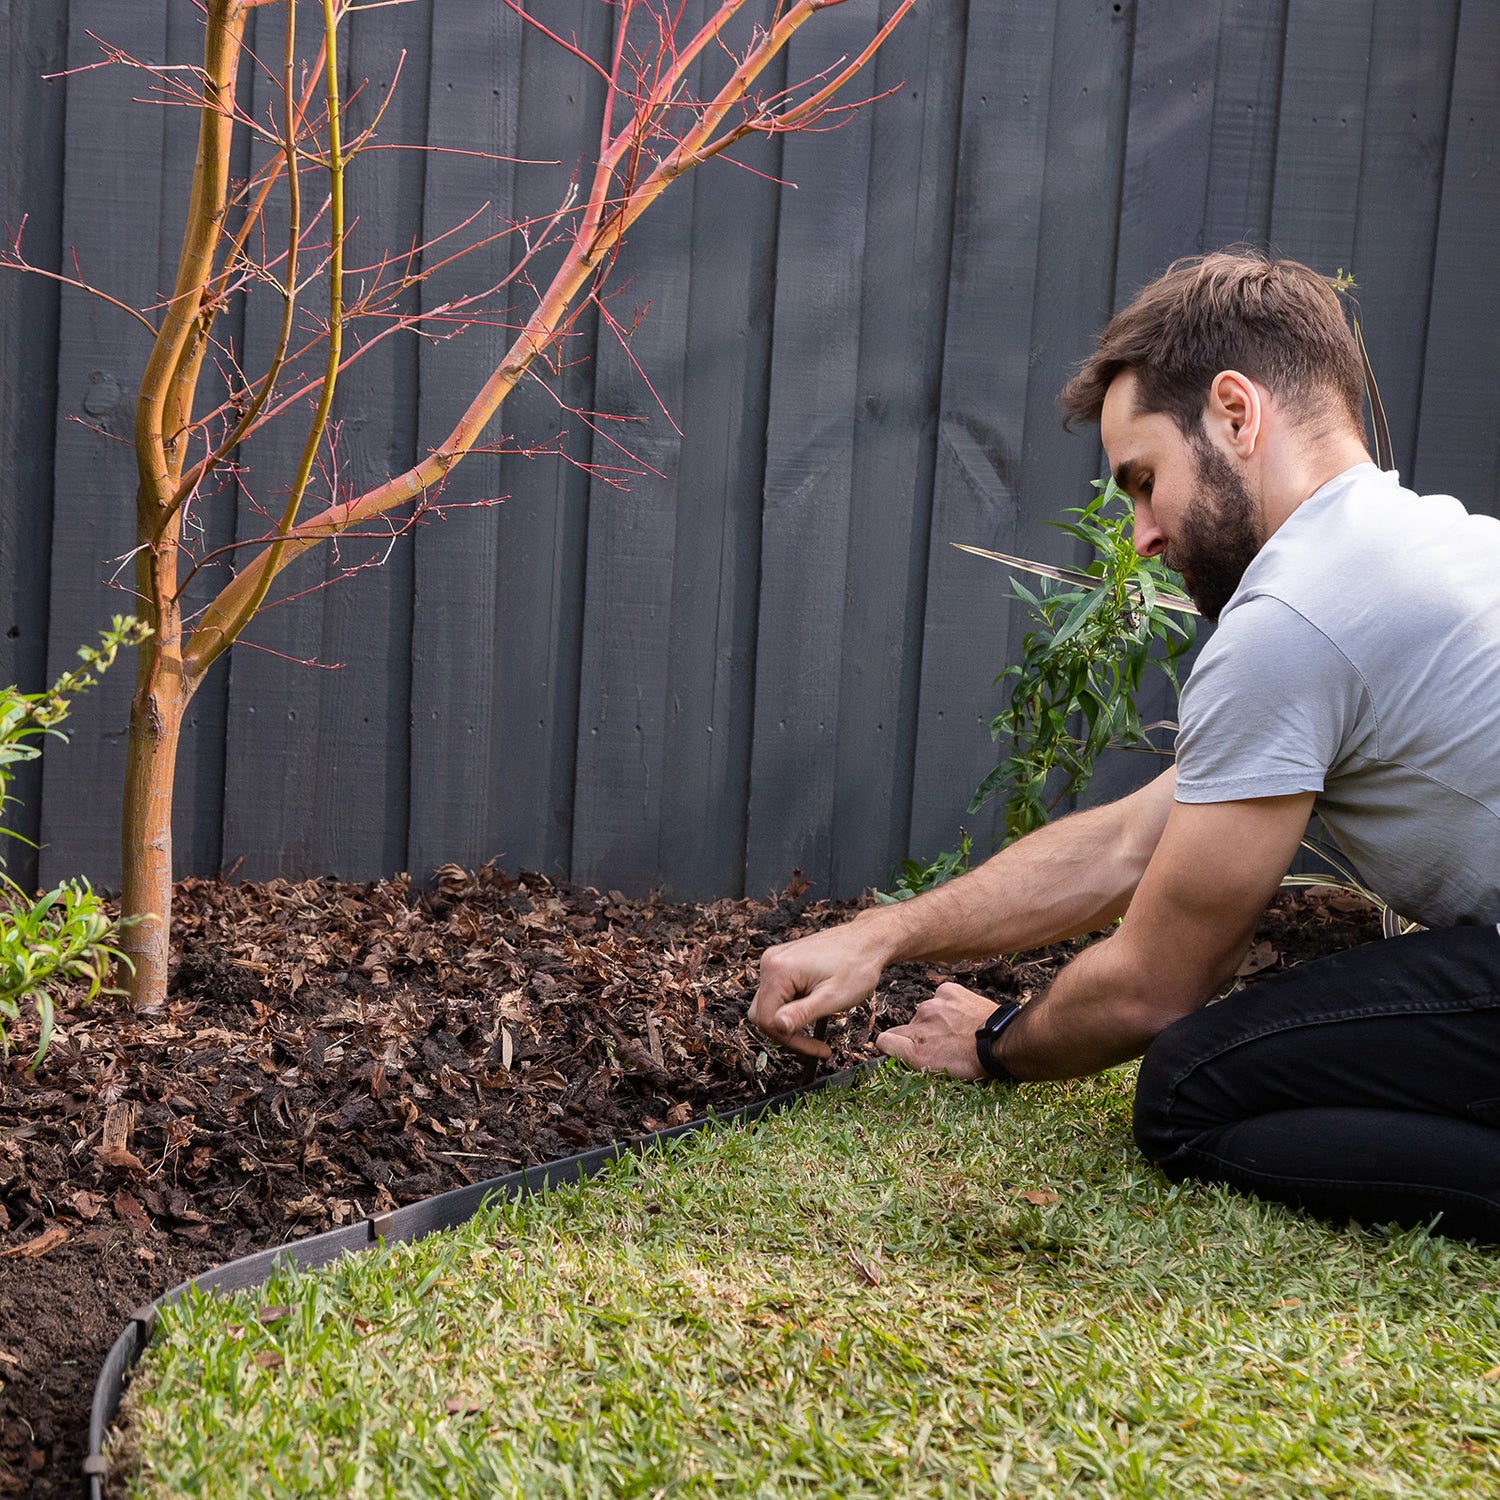
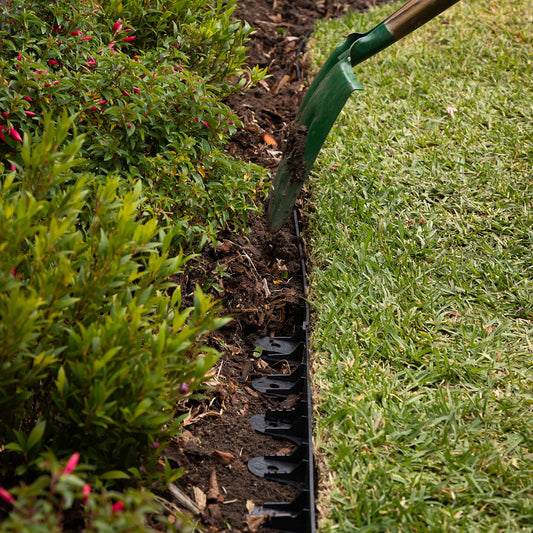
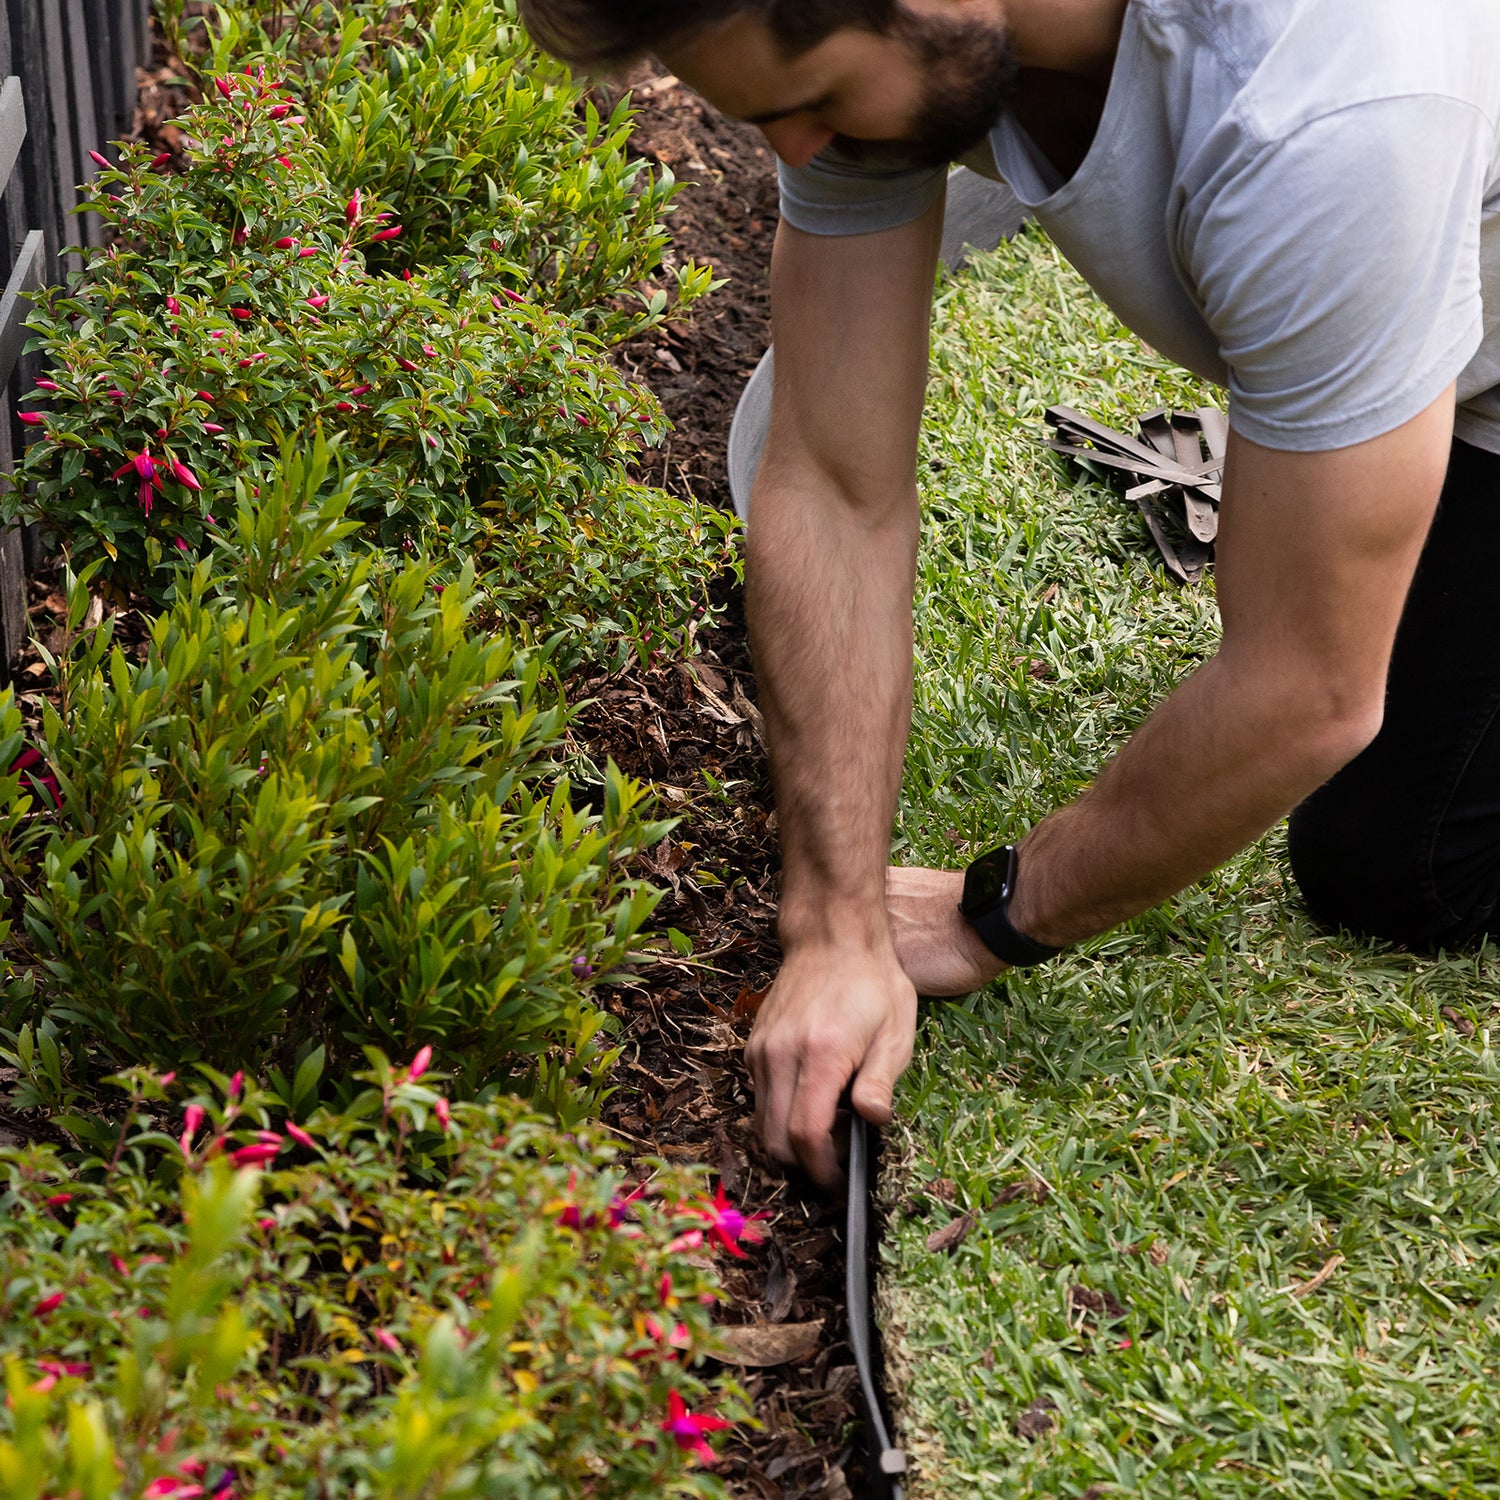
Step 3: Unroll and Install the First Piece of Edging
Now it's time to start placing the edging:
- Unroll the first piece of composite edging and position it in the trench.
- Secure the edging by placing a peg at the starting point and tapping it into place with a mallet. This will hold the edging in position.
- Continue rolling the edging along the trench, securing each piece with pegs every 0.5 meters. Make sure the pegs are evenly spaced for a secure fit.
- Place pegs at both ends of each piece of edging, as well as at the joint between two pieces, to ensure everything stays aligned and even.
Step 4: Measure and Mark for Cutting
When you reach a point where a full piece of edging doesn't fit, you'll need to make a cut:
- Position the next piece of edging along the remaining area.
- Use a pencil to mark where you need to cut the piece to fit.
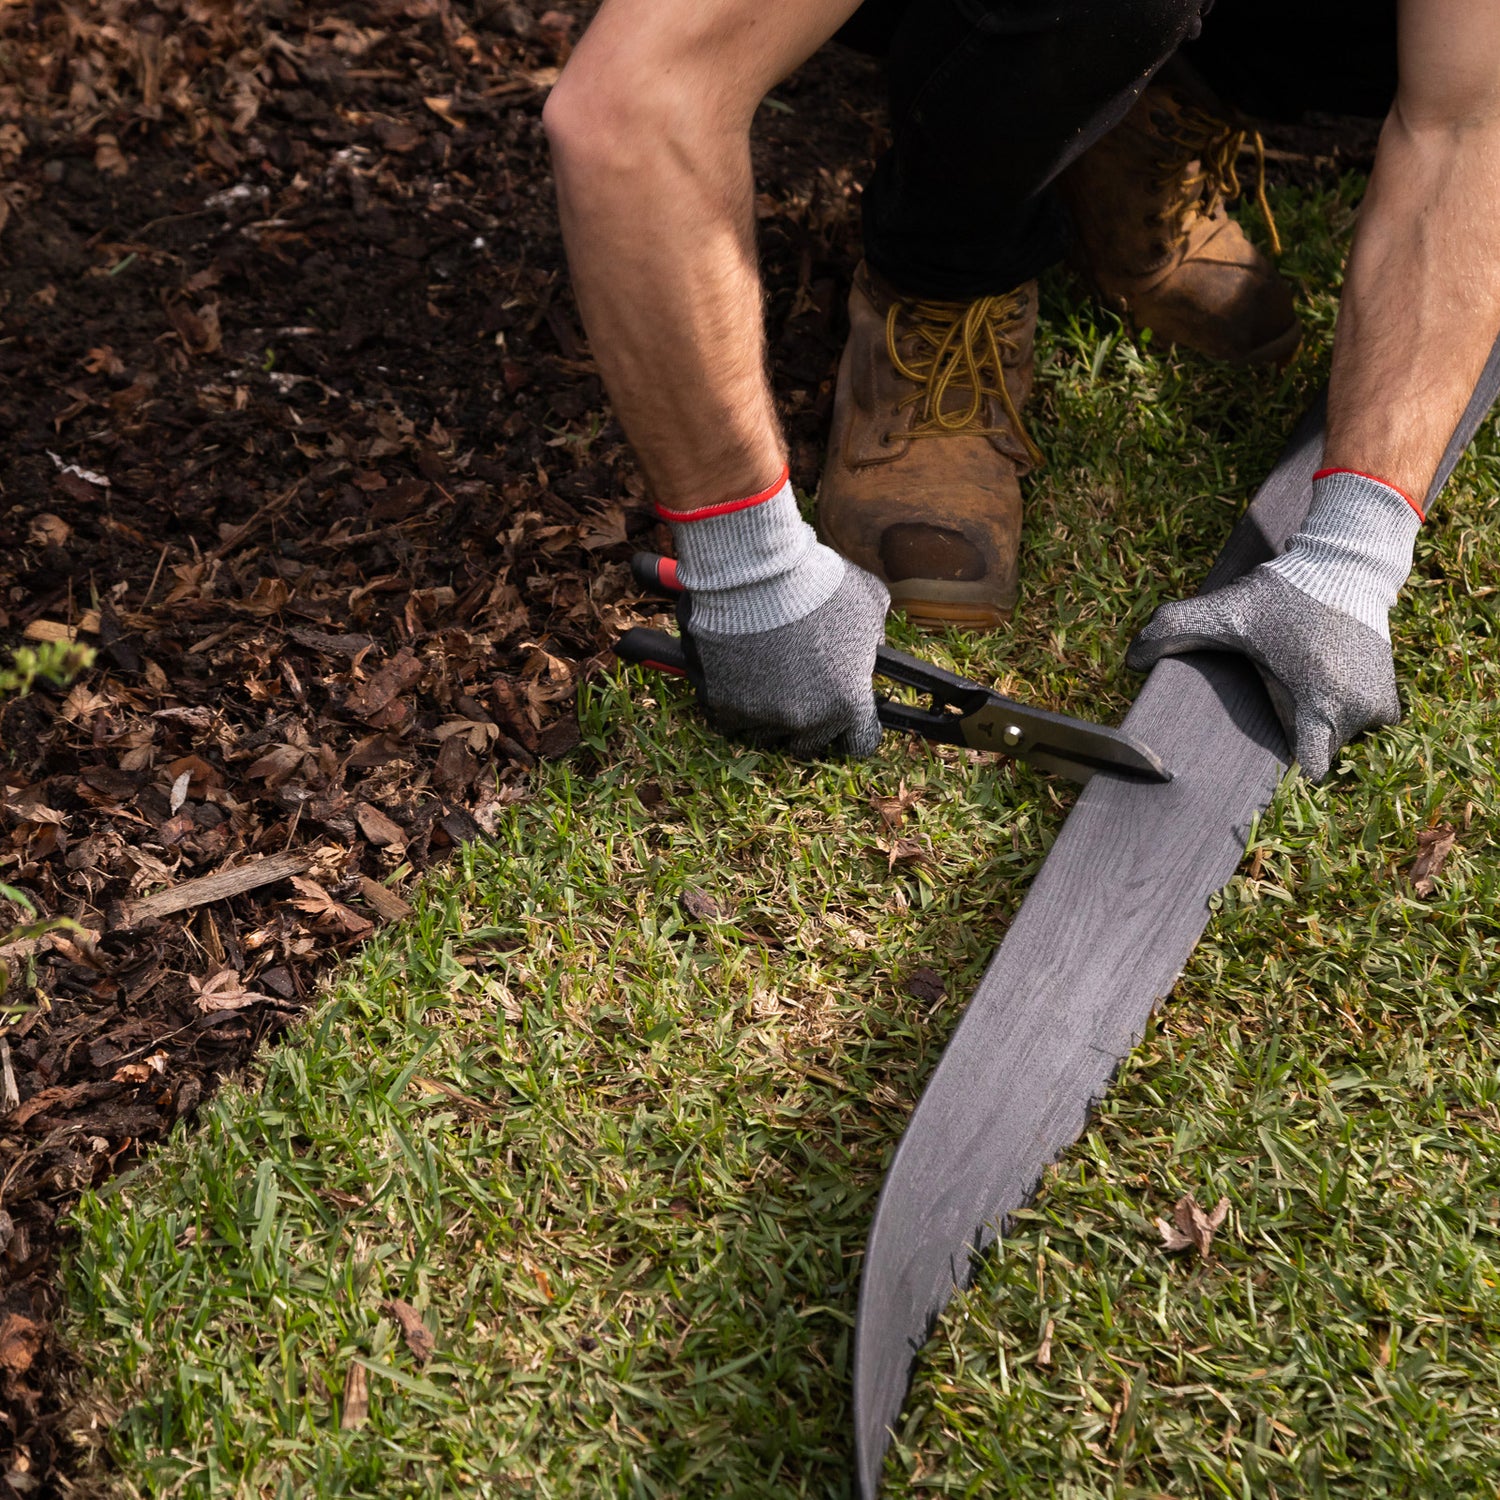
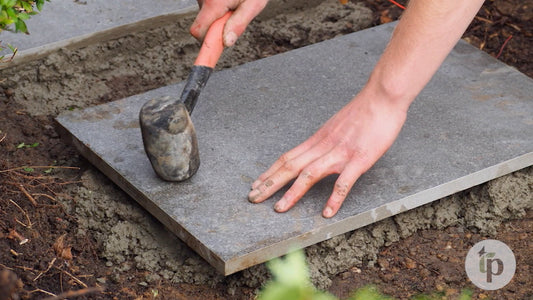
Step 5: Cut the Edging to Size
Here's how to make the necessary cuts:
- Use tin snips to carefully cut along the marked line. Remember to wear safety glasses and gloves when cutting, as the edges can be sharp.
- Once the edging is cut to size, place the final piece in the trench and secure it with pegs, just like the other pieces.
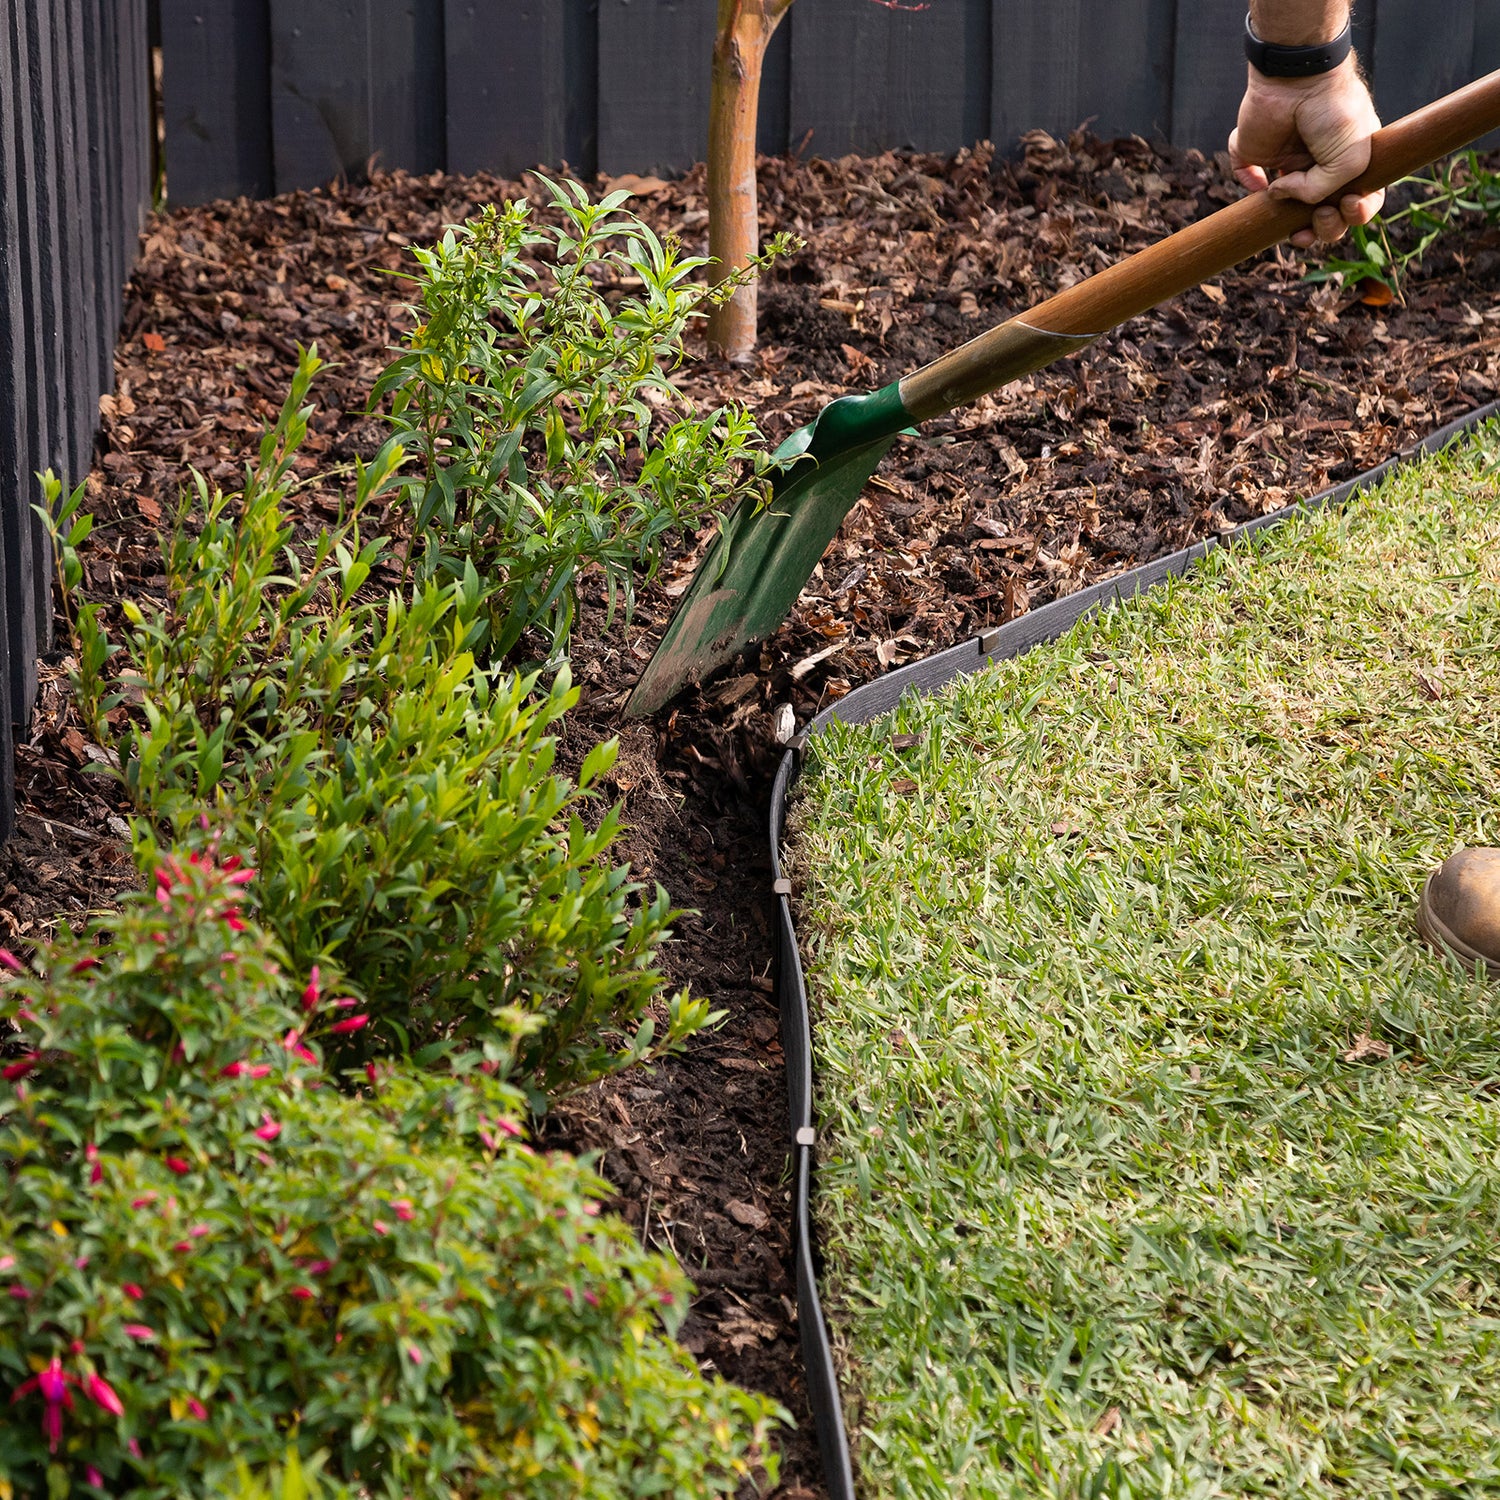
Step 6: Fill in the Trench
To complete the installation:
- Fill in the gap behind the edging with the soil you removed when digging the trench.
- Ensure that the edging is level and properly aligned. If necessary, adjust the pegs or reposition the edging to get a perfect fit.
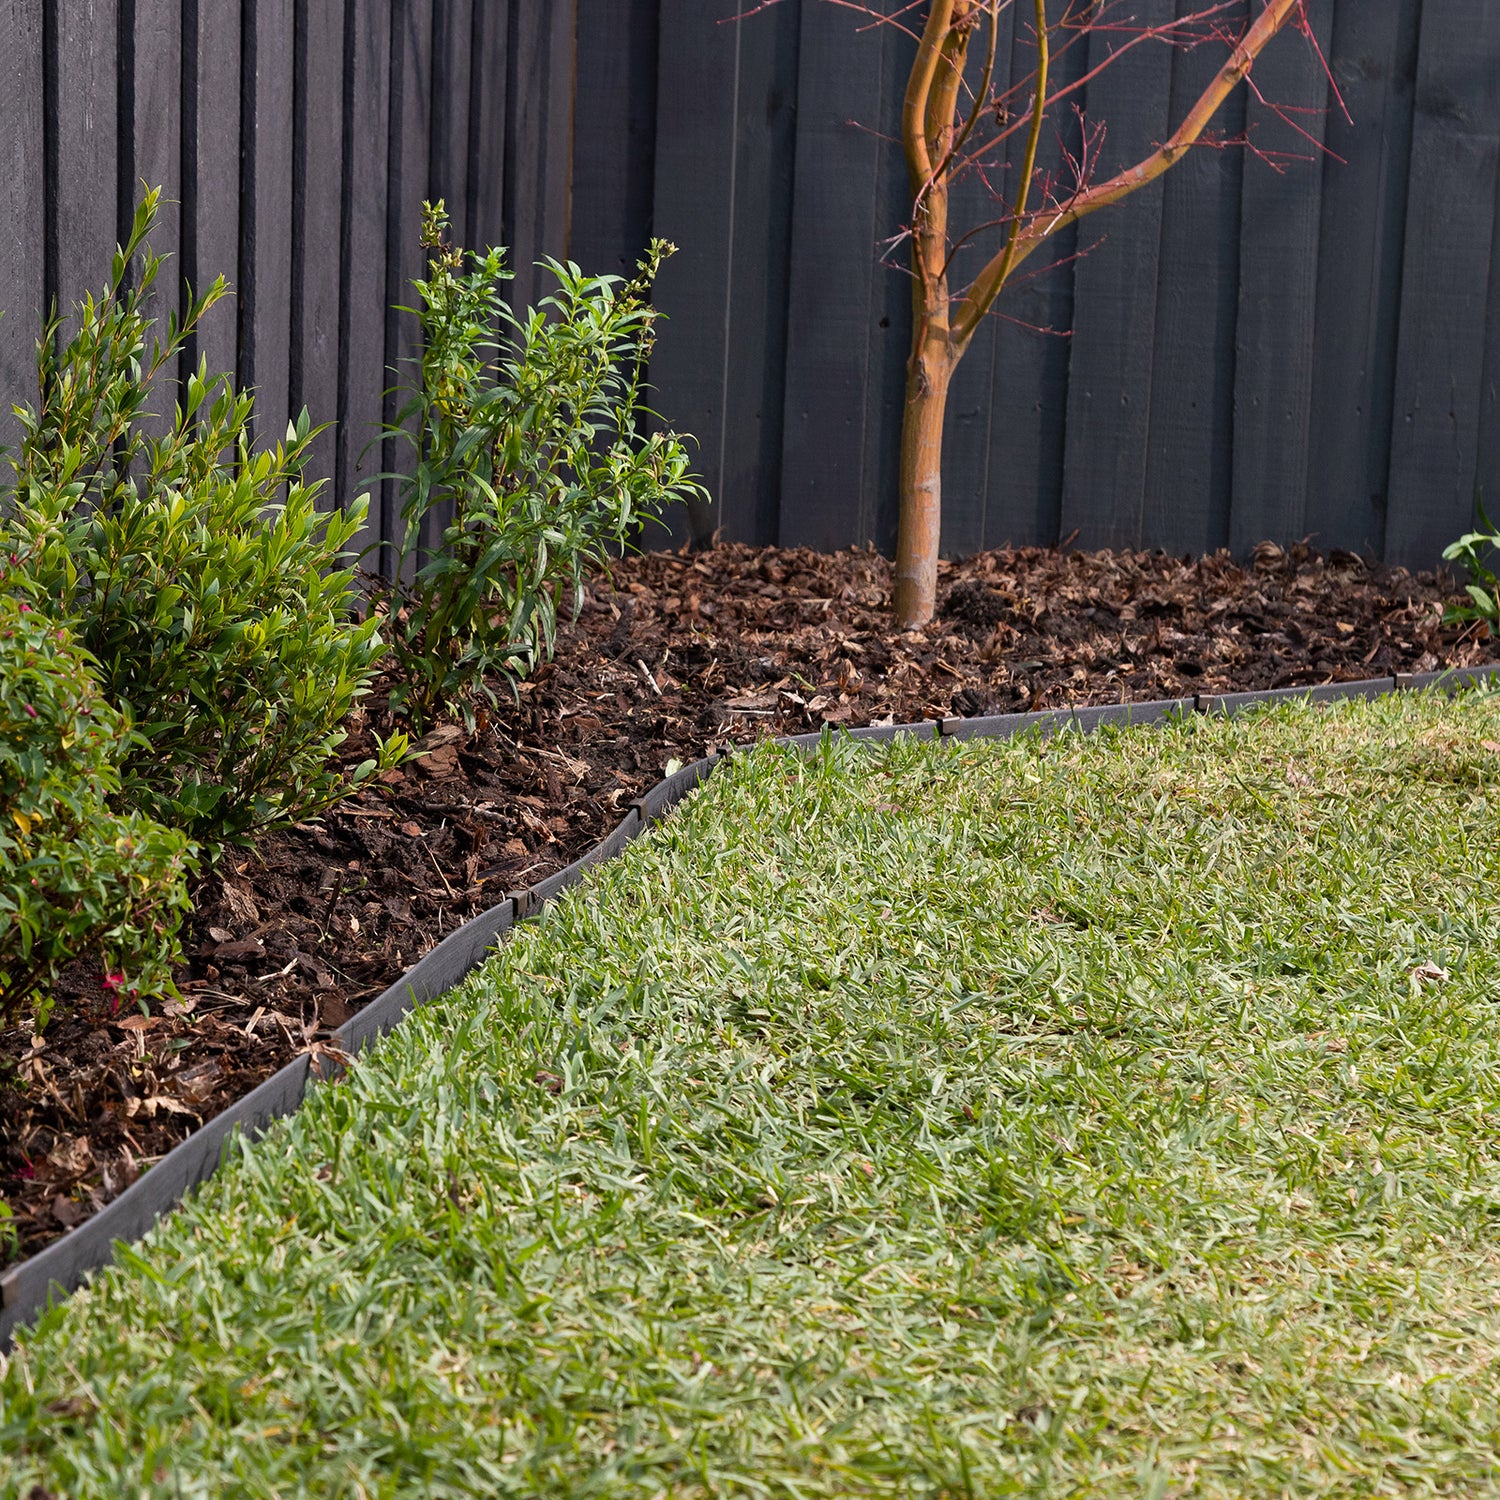
Step 7: Enjoy Your Beautiful New Composite Edging!
Once everything is in place and secure, step back and admire your work! You've just installed your Tuscan Path Composite Edging, giving your garden a neat, attractive finish that's built to last.
Final Tips:
- Always wear safety glasses and gloves when handling and cutting the composite edging to protect yourself.
- Double-check your measurements to make sure each piece fits perfectly, and trim pieces as necessary for a neat, professional look.
- Be sure to secure each piece of edging with enough pegs to prevent movement over time.
With these simple steps, your garden or landscape area will have a durable, long-lasting border that enhances its appearance and function!