How to Install Tuscan Path Landscape Eco Edging

TOOLS YOU'LL NEED:
Before you start, gather the following tools:
Step 1: Measure Your Area
The first step is to determine how much edging you'll need:
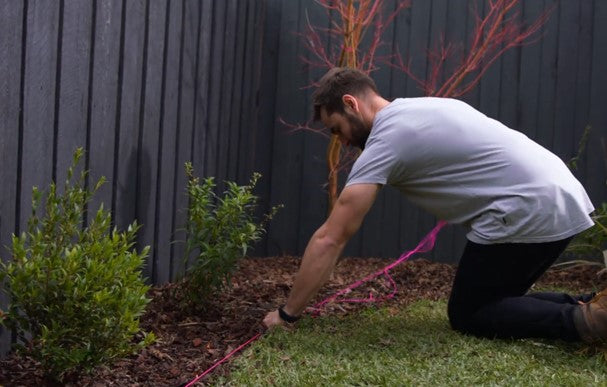
- Lay out a string line along the perimeter of your garden bed, path, or lawn where the edging will be placed.
- Measure the length of the string line and record this measurement.
For example, if your garden bed is 18.7 meters long, here's how you calculate how much edging you need:
- 18.7 meters ÷ 1 meter (length of each piece of edging) = 18.7 pieces
- Round up to the nearest whole number, so you'll need 19 pieces of edging.
Step 2: Prepare the Area
Now it's time to prepare the area where the edging will go:
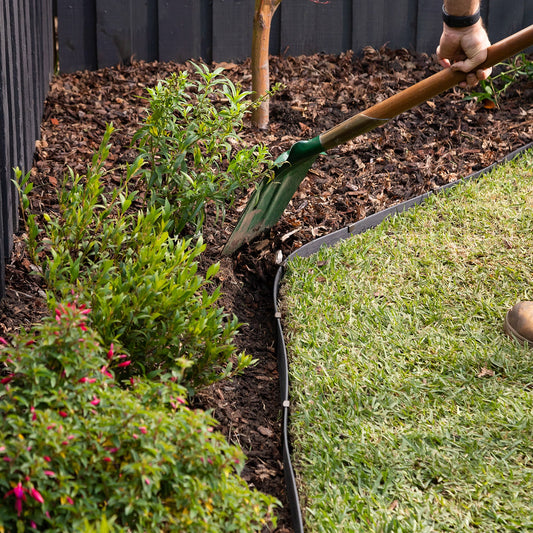
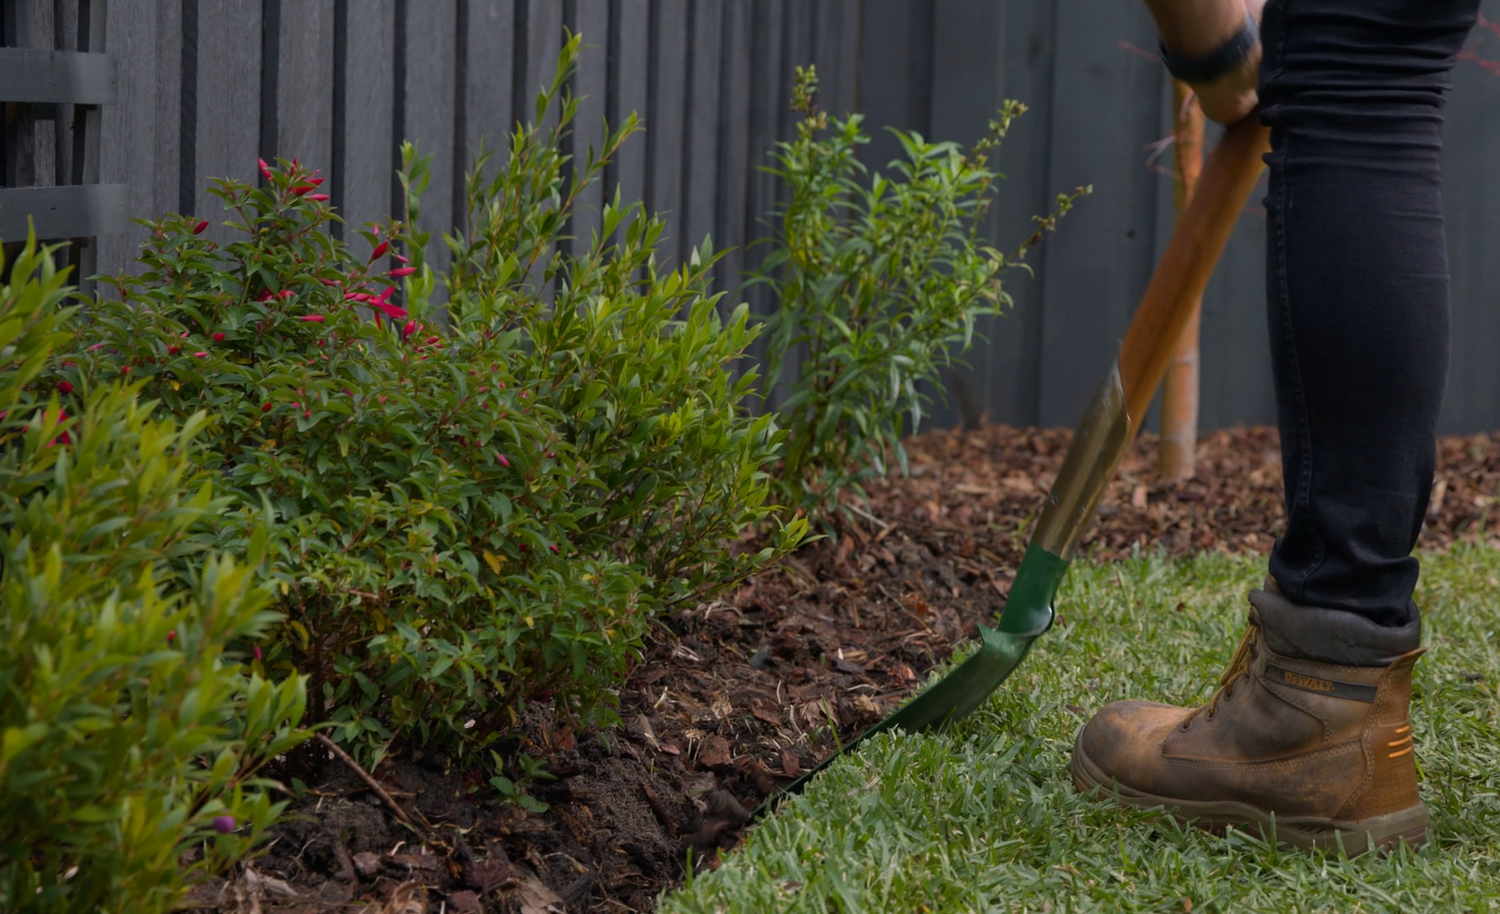
- Dig a trench along the perimeter. The depth of the trench should be about half the height of the edging to ensure it sits securely in the ground.
- Make sure the trench is level and even for the best results.
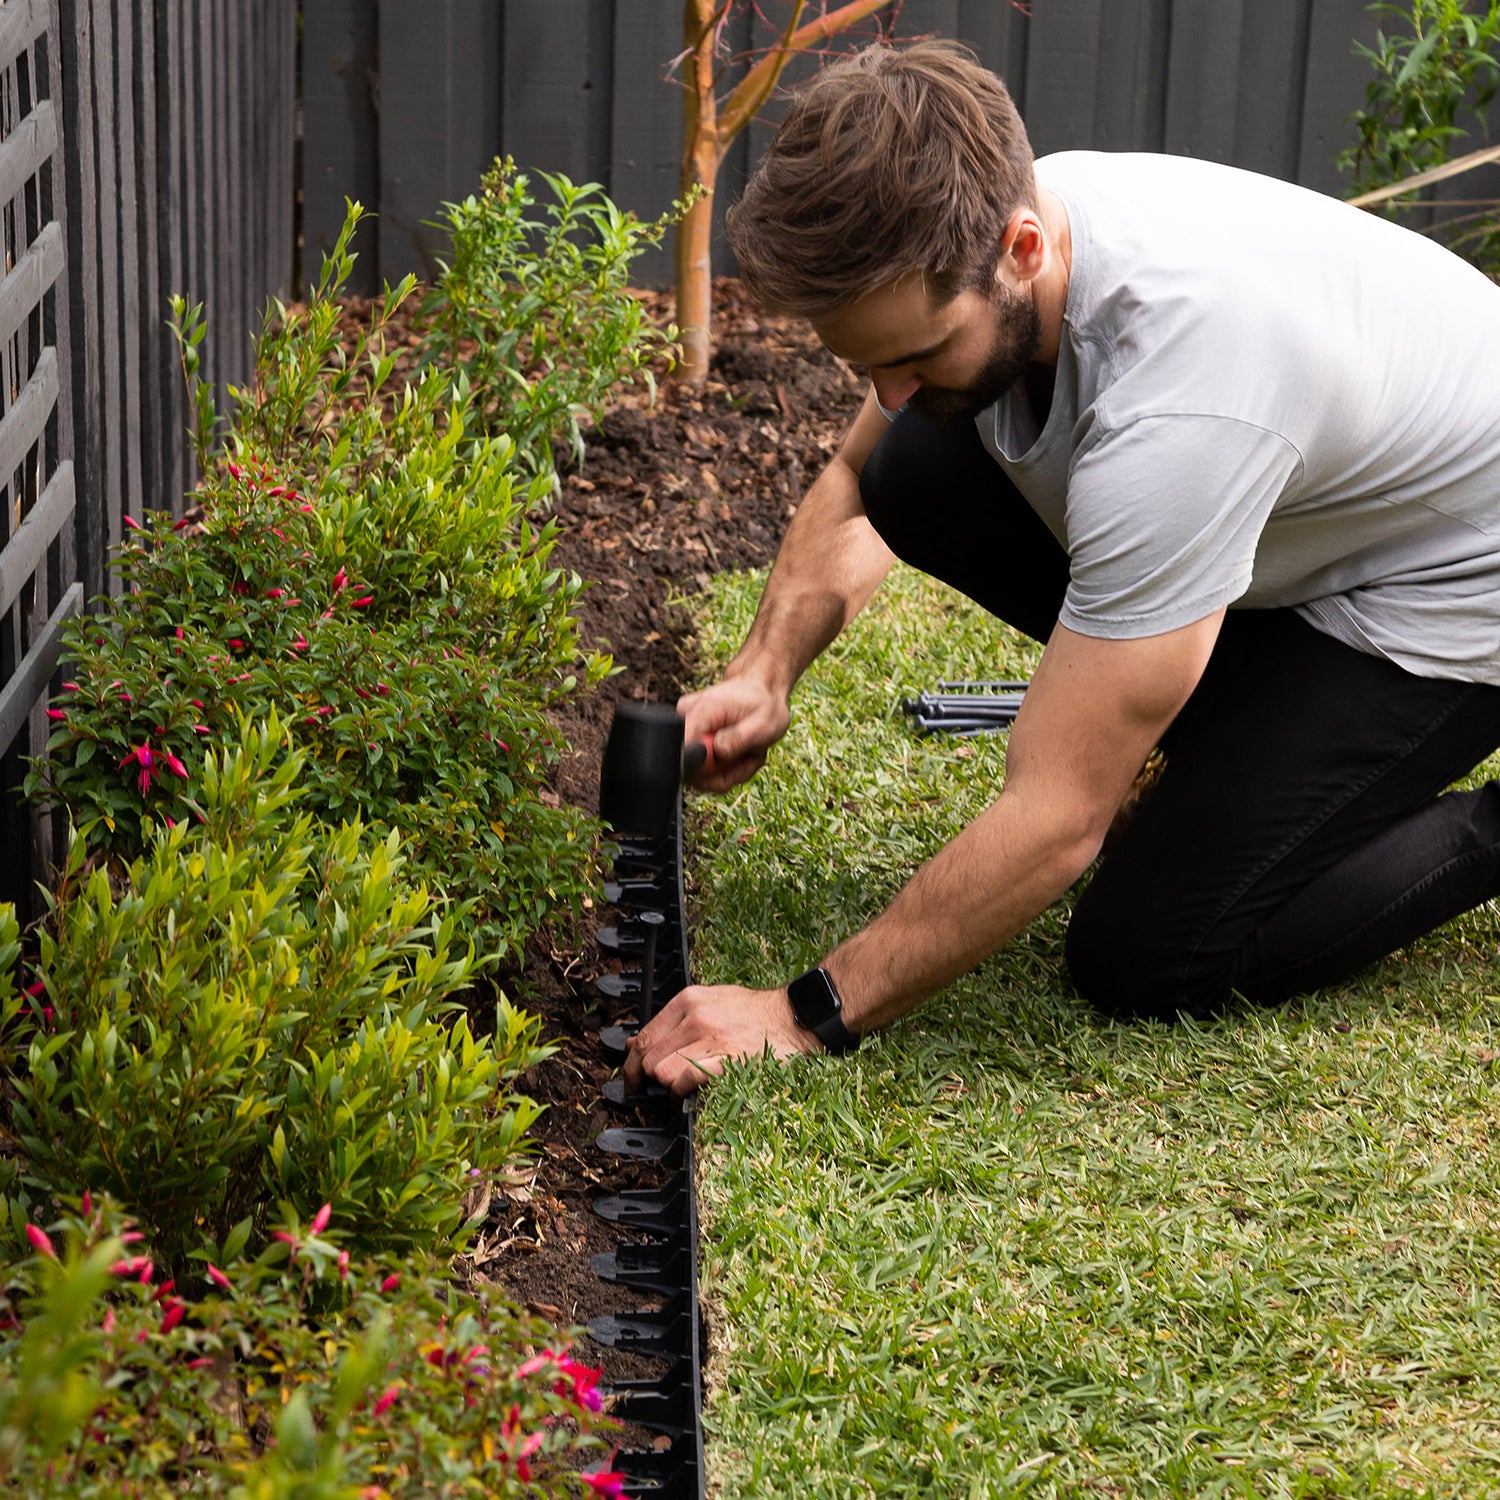
Step 3: Unroll and Install the First Piece of Edging
Now that the trench is ready, start installing your edging:
- Unroll the first piece of edging and position it in the trench.
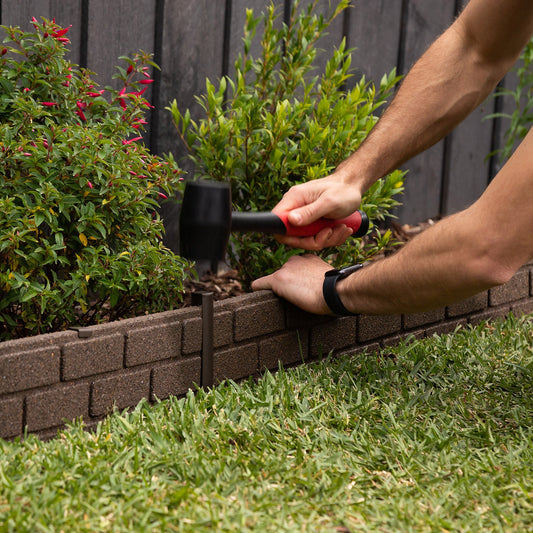
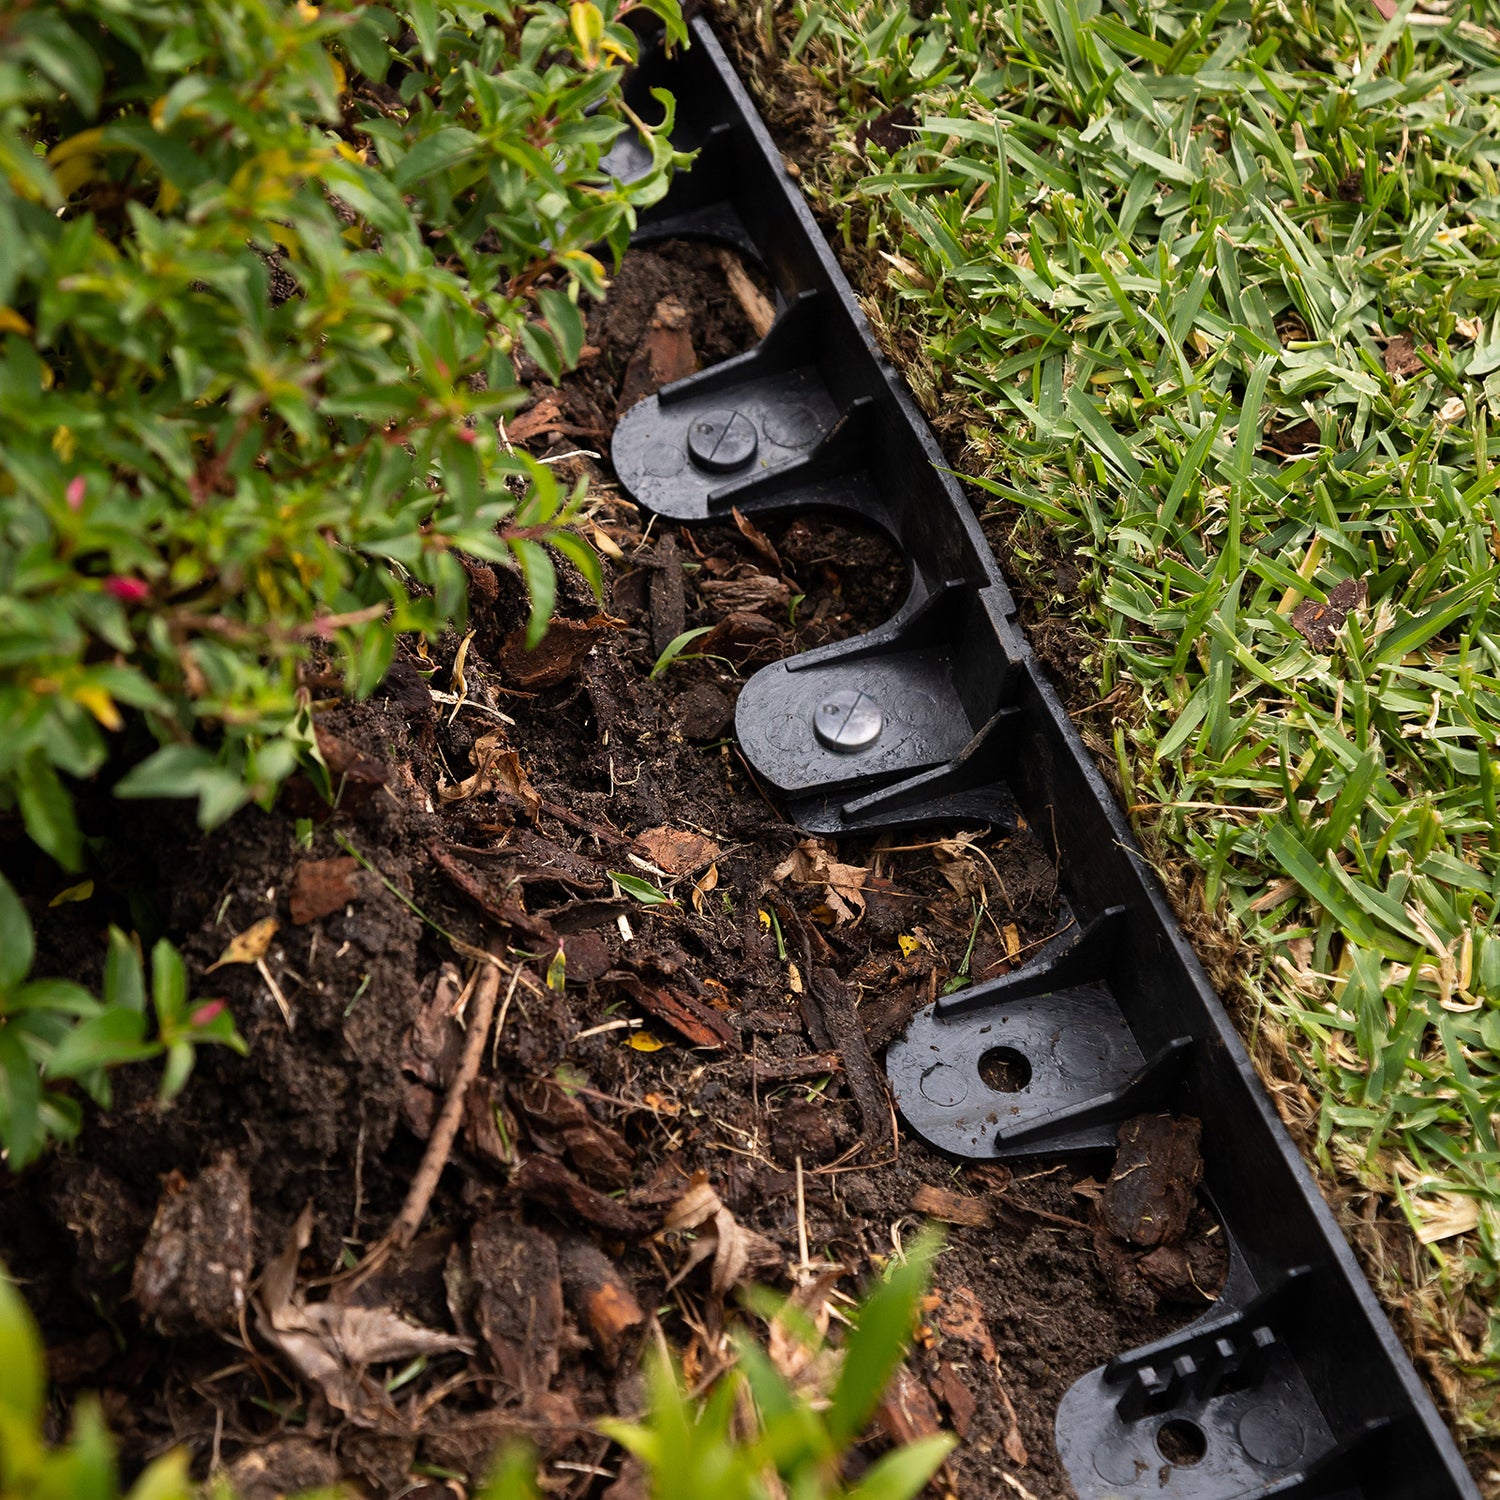
- Secure the edging by placing a peg at the starting point and tapping it into place with a mallet. This will lock the edging in position.
- Continue unrolling the edging along the trench, securing each piece with pegs spaced evenly (about every 0.5 meters).
- Be sure to place pegs at both ends of each piece and at the joint between two pieces of edging to ensure the edging remains straight and aligned.
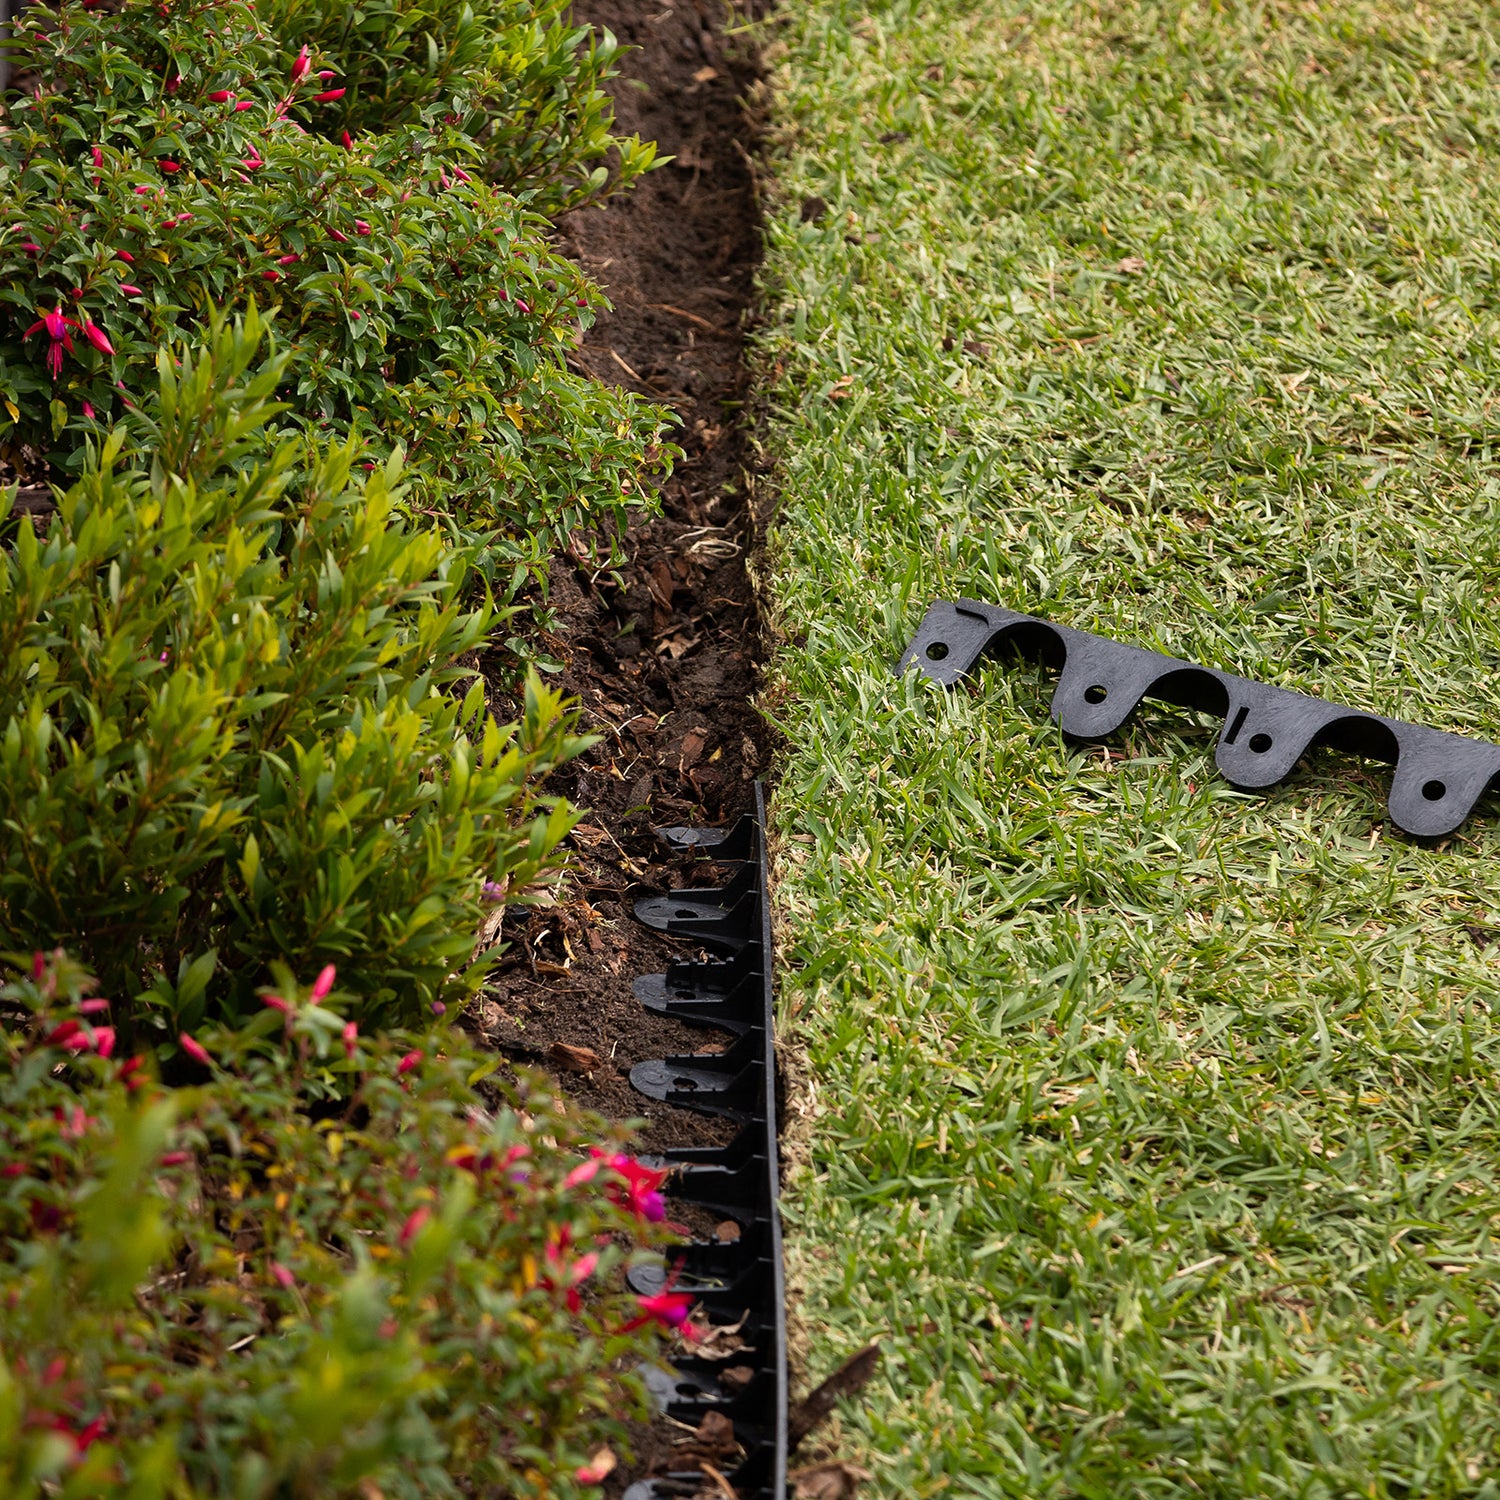
Step 4: Measure and Mark for Cutting
When you reach an area where a full piece of edging won't fit, you'll need to make a cut:
- Position the next piece of edging along the remaining space.
- Mark the length where the cut is needed using a pencil to ensure precision.
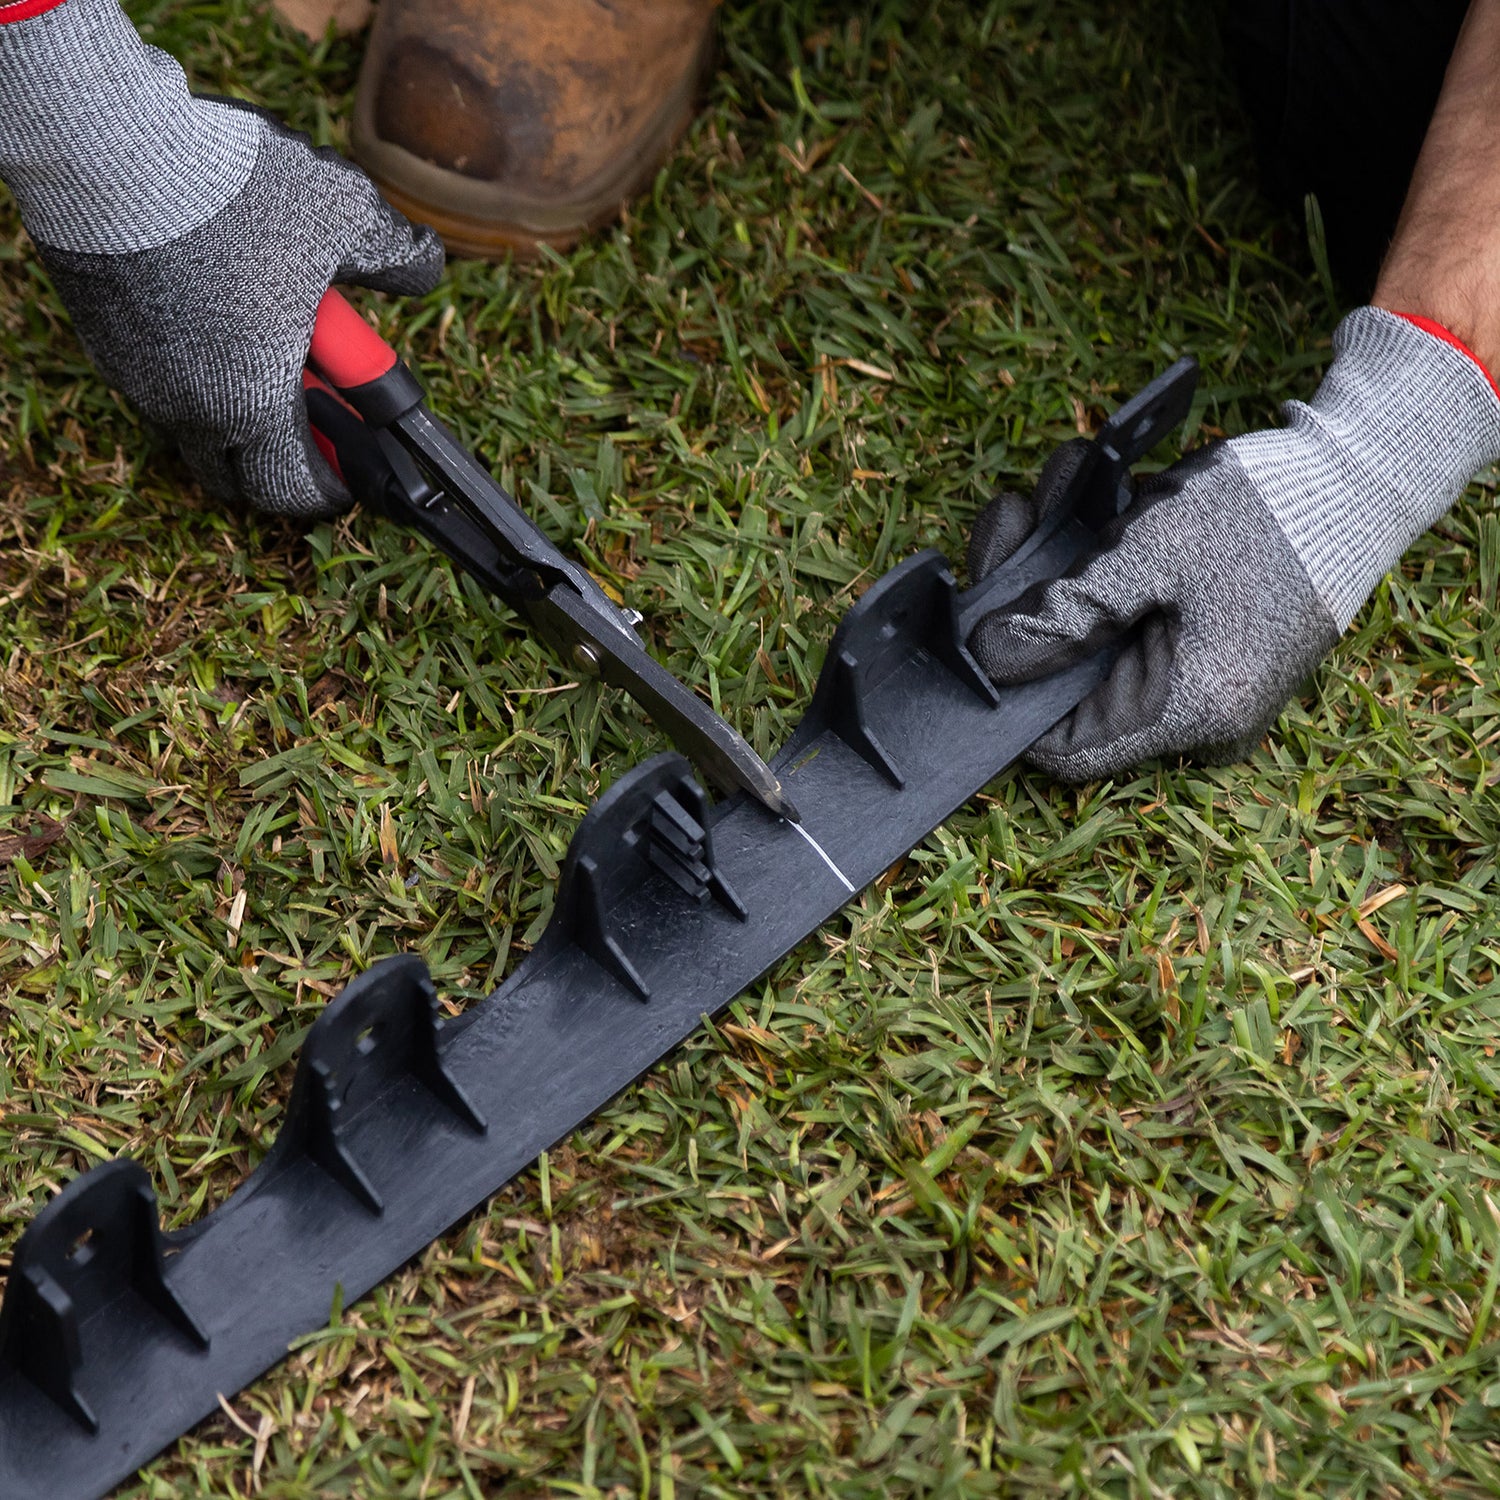
Step 5: Cut the Edging to Size
Here's how to make the necessary cuts:
- Use tin snips to carefully cut the edging along the marked line. Be sure to wear safety glasses and gloves for protection, as the rubber may snap or recoil during cutting.
- Once cut, place the final piece of edging in the trench and secure it with pegs, just like the other pieces.
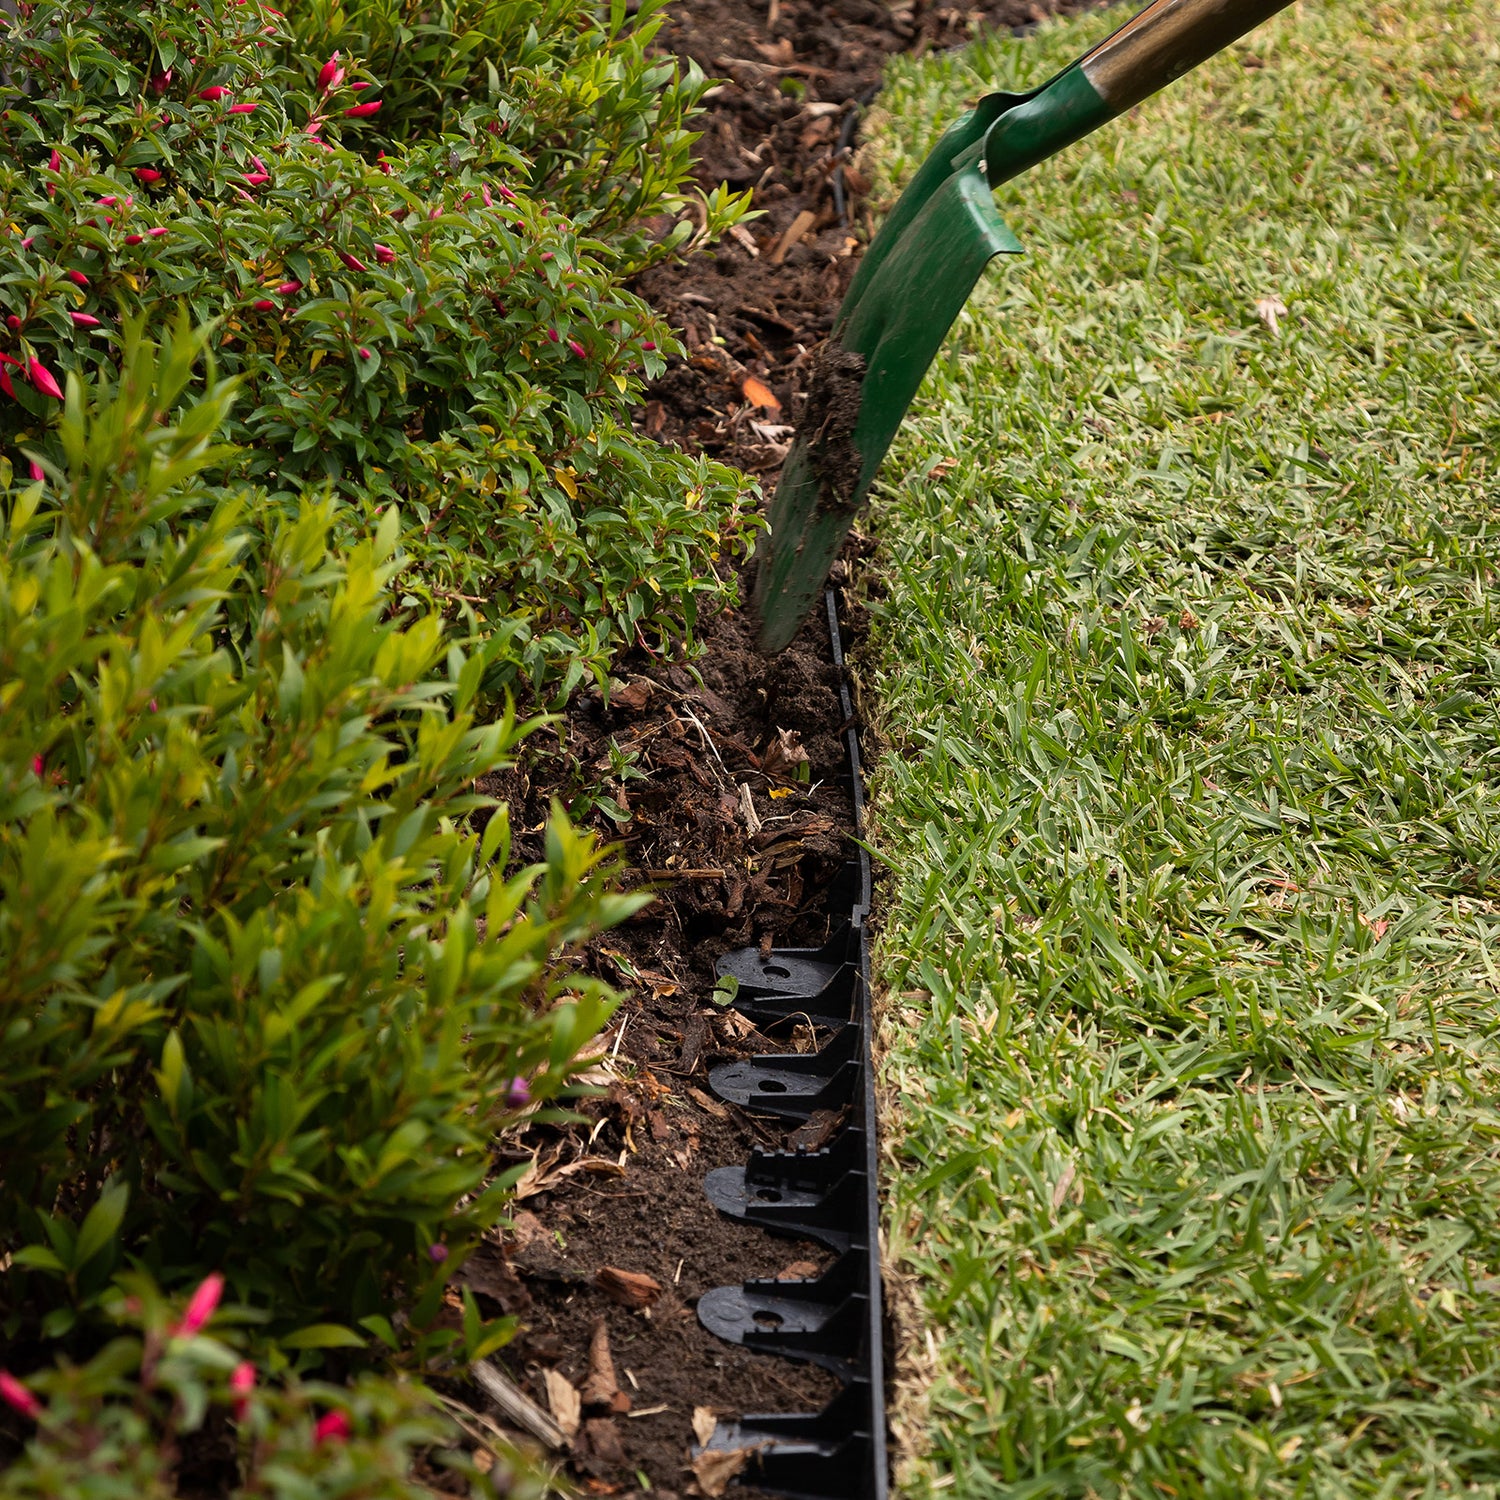
Step 6: Fill in the Trench
To finish the installation and provide additional support:
- Fill in the gap behind the edging with the soil you removed earlier when digging the trench.
- Check that the edging is level and properly aligned. Adjust the pegs or reposition the edging as needed.
Step 7: Enjoy Your Beautiful New Landscape Edging!
Once everything is in place and secured, step back and admire your work! With Tuscan Path Landscape Eco-Edging, you've now created a clean and durable border for your garden beds, paths, or lawn areas that will last for years.
Final Tips:
- Always wear safety glasses and gloves when cutting the edging to protect yourself from sharp edges.
- Double-check your measurements to ensure a perfect fit, and trim pieces as needed for the best look.
- Make sure the pegs are spaced evenly and firmly secured to maintain a consistent and neat appearance.
With these easy steps, you'll have a professional-looking garden border with Tuscan Path Landscape Eco-Edging in no time!

