How to install Tuscan Path Bricks Eco-Edging and Stones Eco-Edging
TOOLS YOU'LL NEED:
Gather these tools before you begin your project:
String
Tape measure
Shovel
Pencil mallet
(or rubber mallet)
Handsaw or jigsaw
Sawhorse
Clamps
Safety glasses and gloves
Edging pegs
(sold separately)
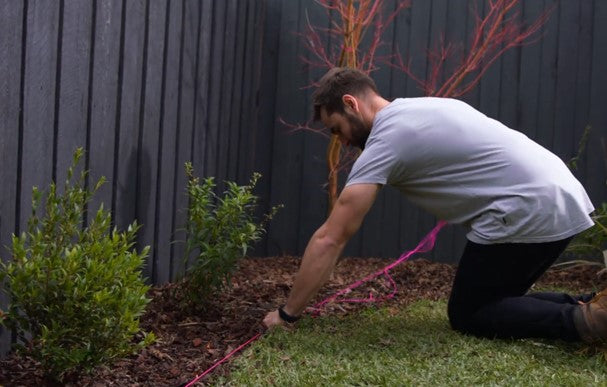
Step 1: Measure Your Area
Start by determining how much edging you'll need. Here's how to do it:
- Lay out a string line around the entire perimeter of your garden bed. This will serve as your guide for how much edging you need.
- Measure the length of the string using a tape measure. Record this number.
For example, if your garden bed is 12.6 meters long, the calculation goes like this:
- 12.6 meters ÷ 1.2 meters (length of each edging piece) = 10.5 pieces.
- Round up to the nearest whole number—so, in this case, you'll need 11 pieces of edging.
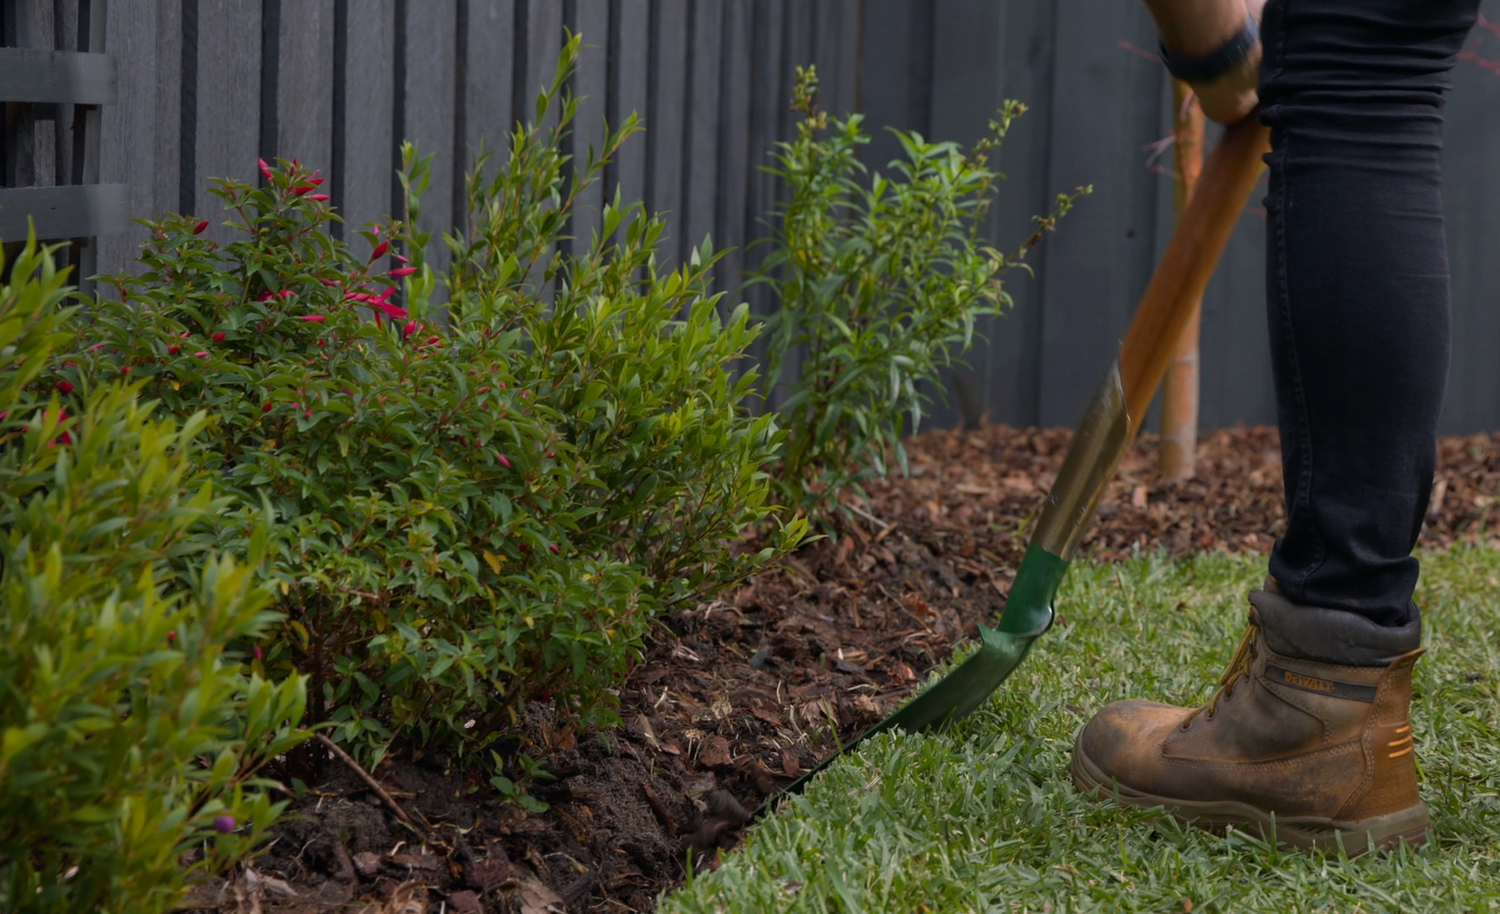
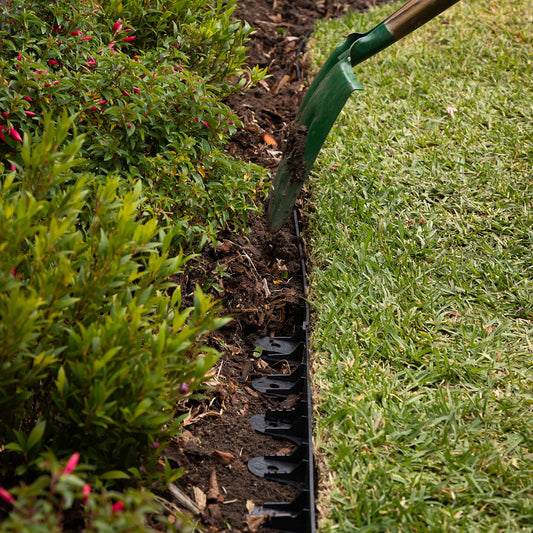
Step 2: Prepare the Area
Next, prepare the area where you'll be installing the edging:
- Create a flat, level surface around the perimeter of the garden bed.
- For this specific edging there is no need to dig a trench! Simply ensure that the ground is flat and even to help the edging sit properly.
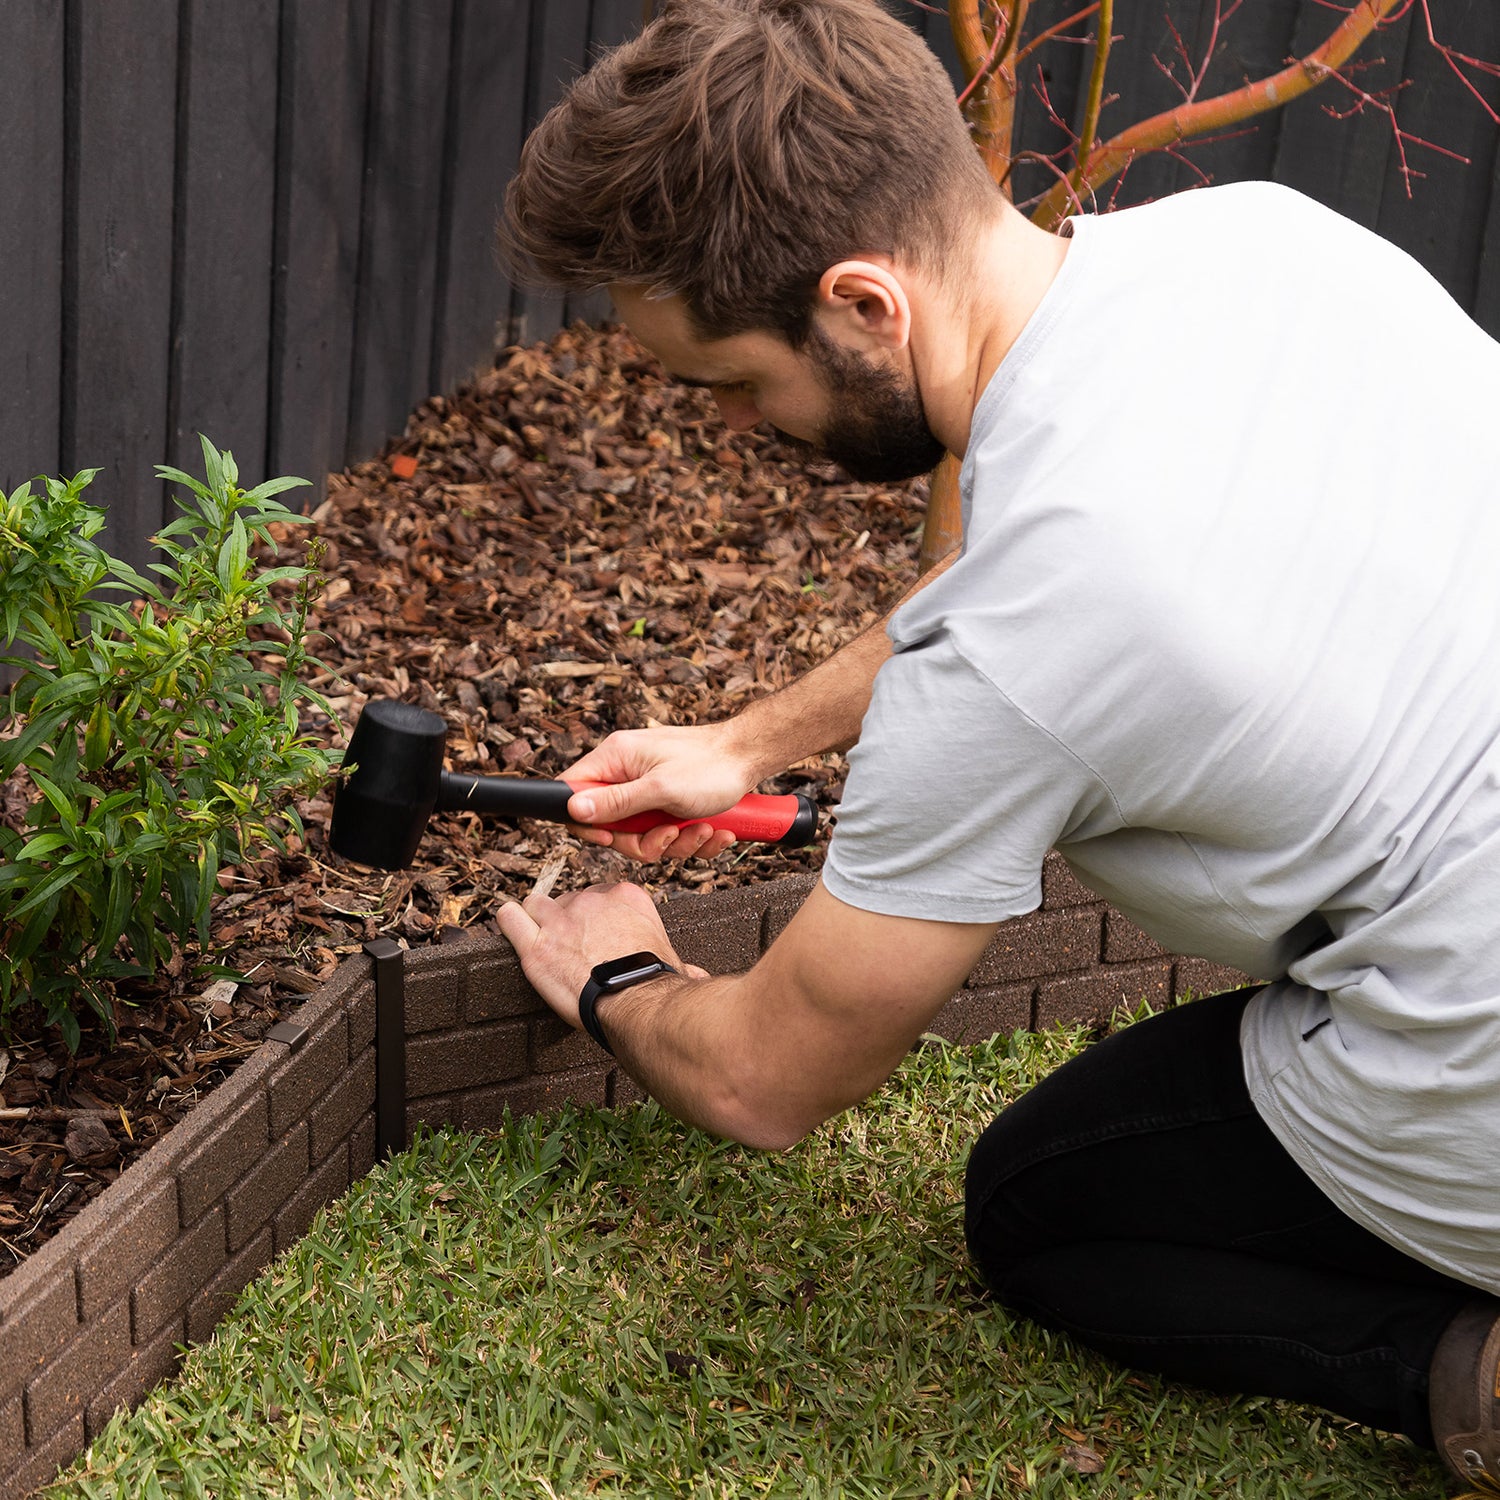
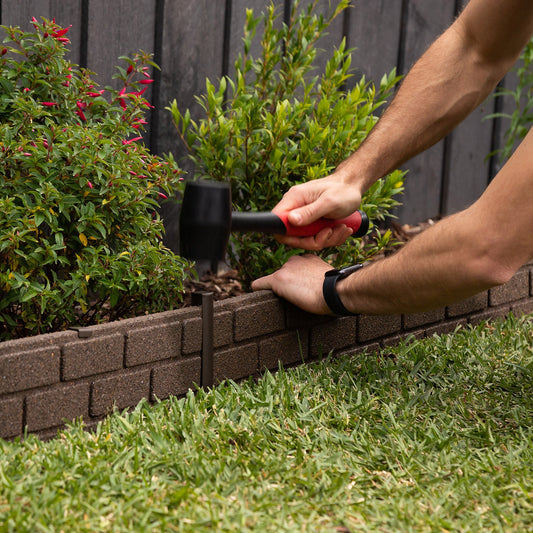
Step 3: Install the First Piece of Edging
Now it's time to start installing the edging:
- Place the first piece of edging into position along the string line.
- Secure the edging by driving in the pegs with a pencil mallet (or rubber mallet).
Tip: Start by securing both ends of the edging first. This will allow you to gently curve the edging for flexible, curved borders if needed. Then, secure the middle section with additional pegs.

Step 4: Continue Installing the Edging
Keep adding pieces of edging around the perimeter, securing each piece with pegs as you go. When you get to a corner or reach a point where a full piece won't fit, you'll need to cut the edging to the right length.
Step 5: Measure and Mark for Cutting
Here's how to measure and mark your cuts:
- Line up the next piece of edging with the previous one.
- Mark the distance and angle where the cut needs to be made using a pencil.
Alternatively, if you prefer, you can measure the remaining distance along the garden bed and cut a piece to that exact length.

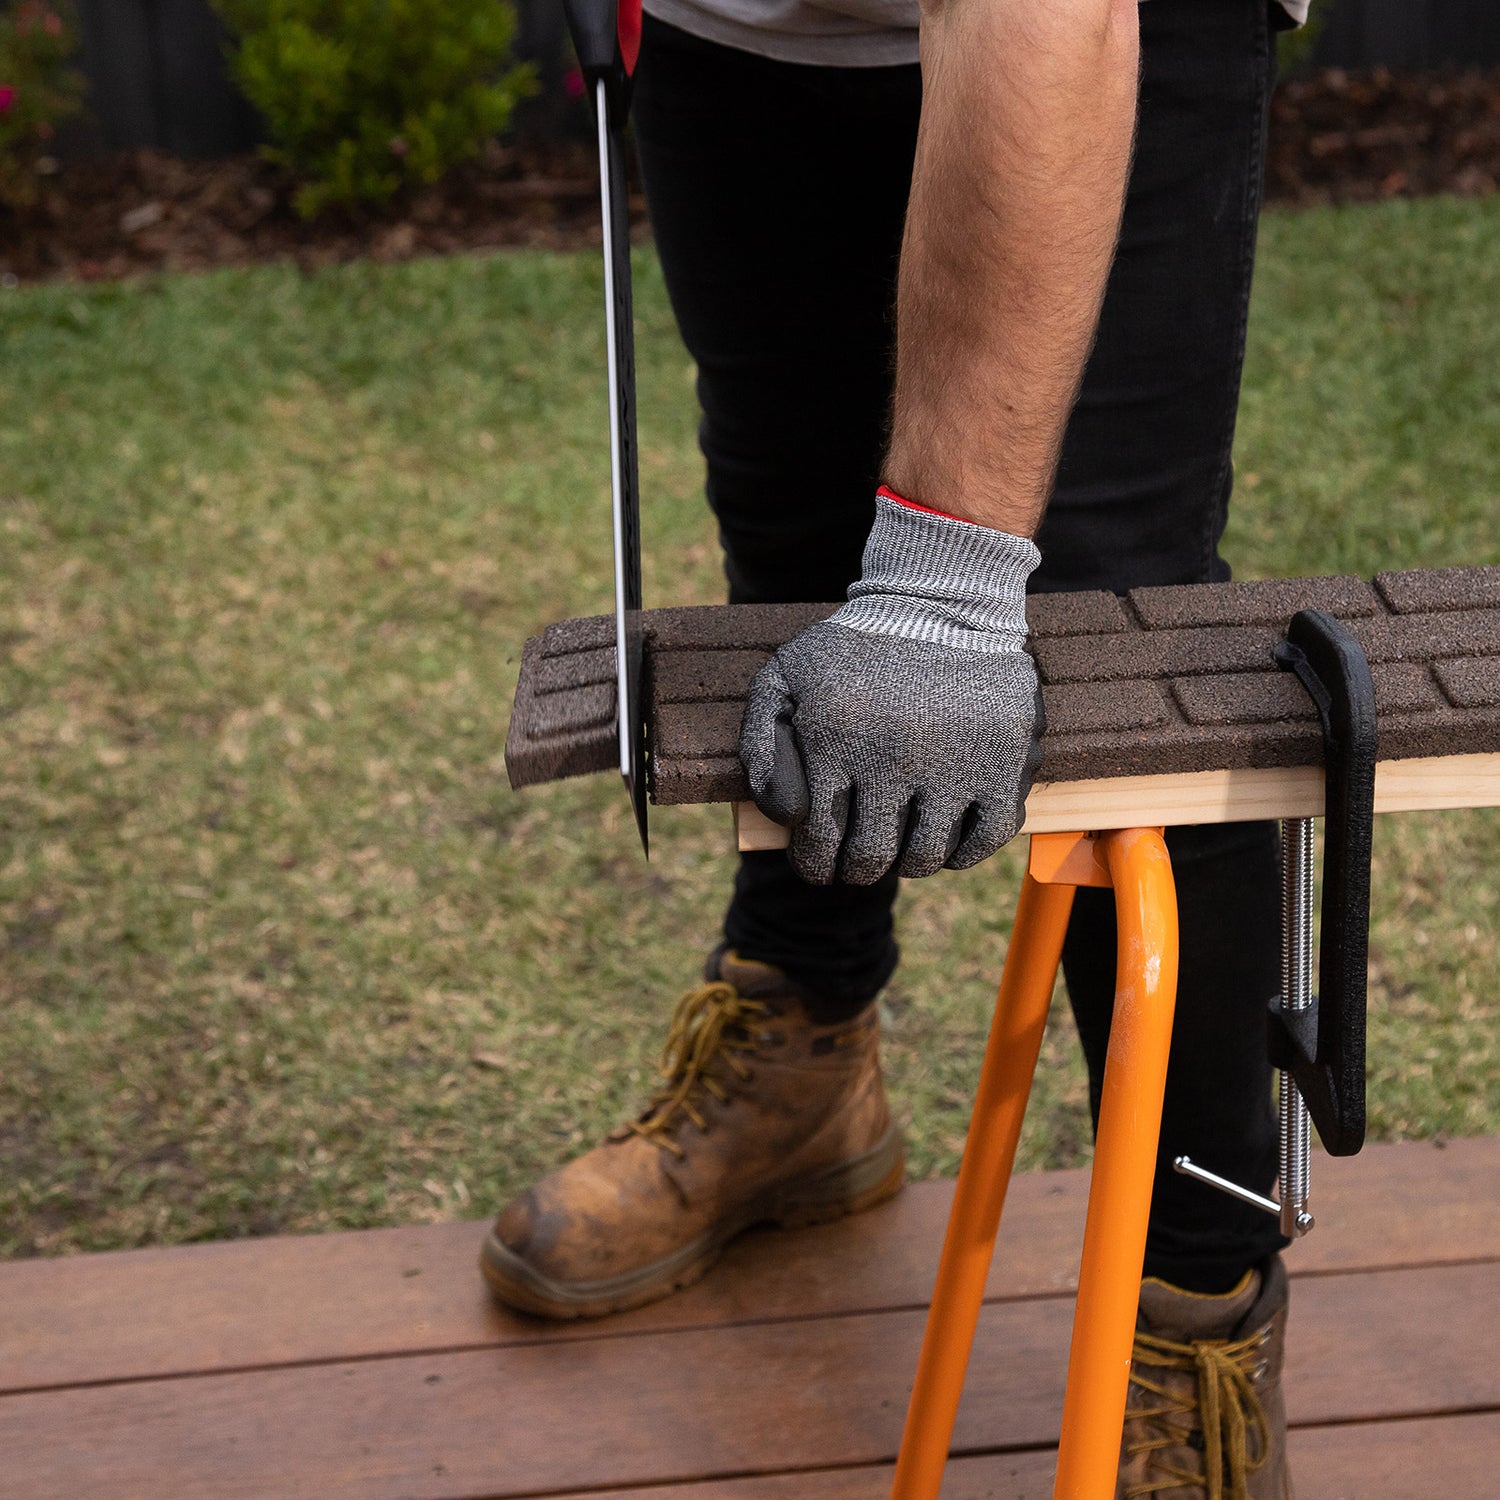
Step 6: Cut the Final piece of edging to Size
- Secure the edging firmly to a sawhorse with clamps to prevent it from moving.
- Use a handsaw or jigsaw to carefully cut along the marked line.
Pro Tip: For the best result, try to cut in a way that allows you to install the maximum number of pegs along the edging. Sometimes, making two cuts (one on each end) is better than making a single cut that loses a peg hole.
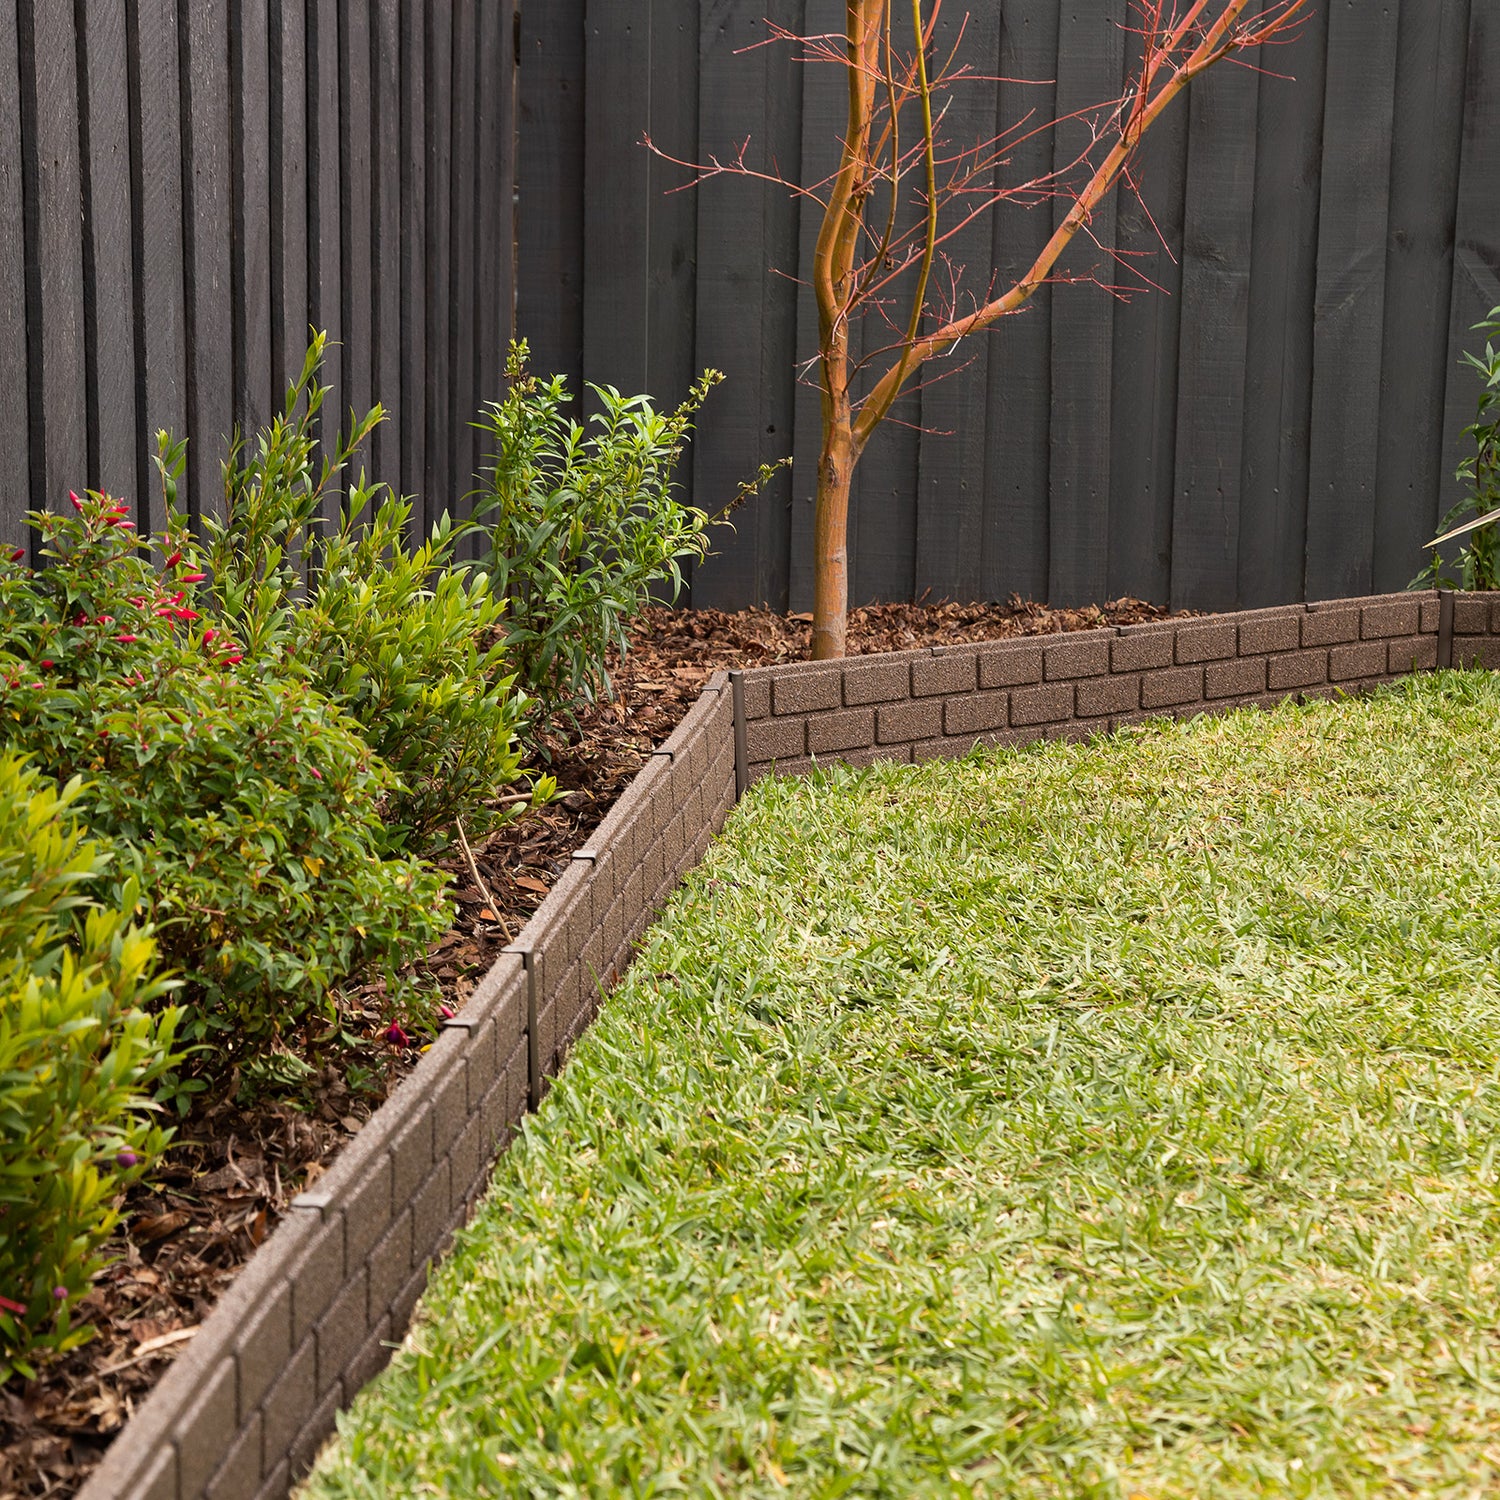
Step 7: Install the Final Piece
Once the piece is cut, position it in place and secure it with pegs, just like you did with the other pieces.
- Always wear safety glasses and gloves when cutting the edging for protection.
- Be mindful of your measurements, and don't hesitate to trim pieces a bit more if needed to make them fit perfectly.
With these easy steps, you'll have your Tuscan Path Roman Stone Eco-Edging or your Tuscan Path Scallop Eco-Edging installed and looking great in no time!