How to install Tuscan Path Porcelain Pavers on a Sand Base

TOOLS YOU'LL NEED:
Gather these tools before you begin your project:
Shovel
Rake
String line
Tape measure
Timber or metal runner boards
Spirit level
Notched screed board
Rubber mallet or hand tamper
Plate compactor
(high-frequency low amplitude)
Plywood sheet or carpet square
(for compactor protection)
Paver joint-filling sand
Edge restraint
(pre-mixed concrete or site-mixed equivalent)
Pencil
Chalk or temporary line paint
(optional, for marking edges)
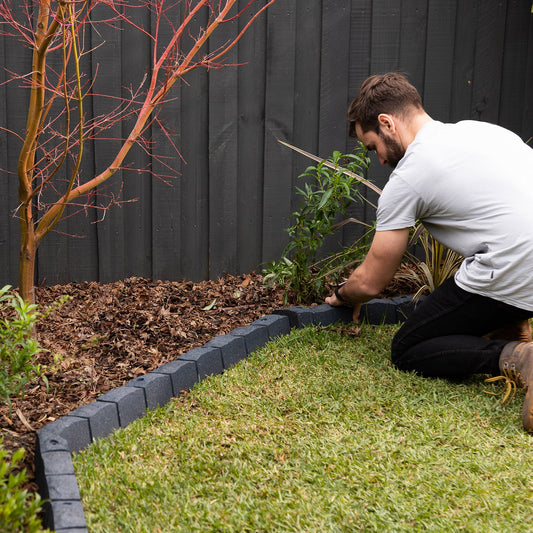
Step 1: Prepare the Ground
The foundation is key for a strong and stable paver installation:
- Clear the Area: Remove any debris, rocks, or roots from the area where the pavers will go.
- Sub-base Preparation: Create a sub-base that's at least 50mm thick using compatible sand. This layer should be roughly level and dampened down before being tamped firmly into place using a hand compactor. For areas with vehicle traffic, you may want to use a mechanical compactor for better results.
Step 2: Spread the Sand
Now that your sub-base is ready, it's time to level the sand:
- Set the Level: Place two runner boards (either timber or metal) along the area, ensuring they are level.
- Screed the Sand: Loosely spread the sand between the boards. Use the notched screed board to level out the sand, removing any high spots and filling in the low spots. Check regularly with your spirit level to ensure the surface is perfectly even.
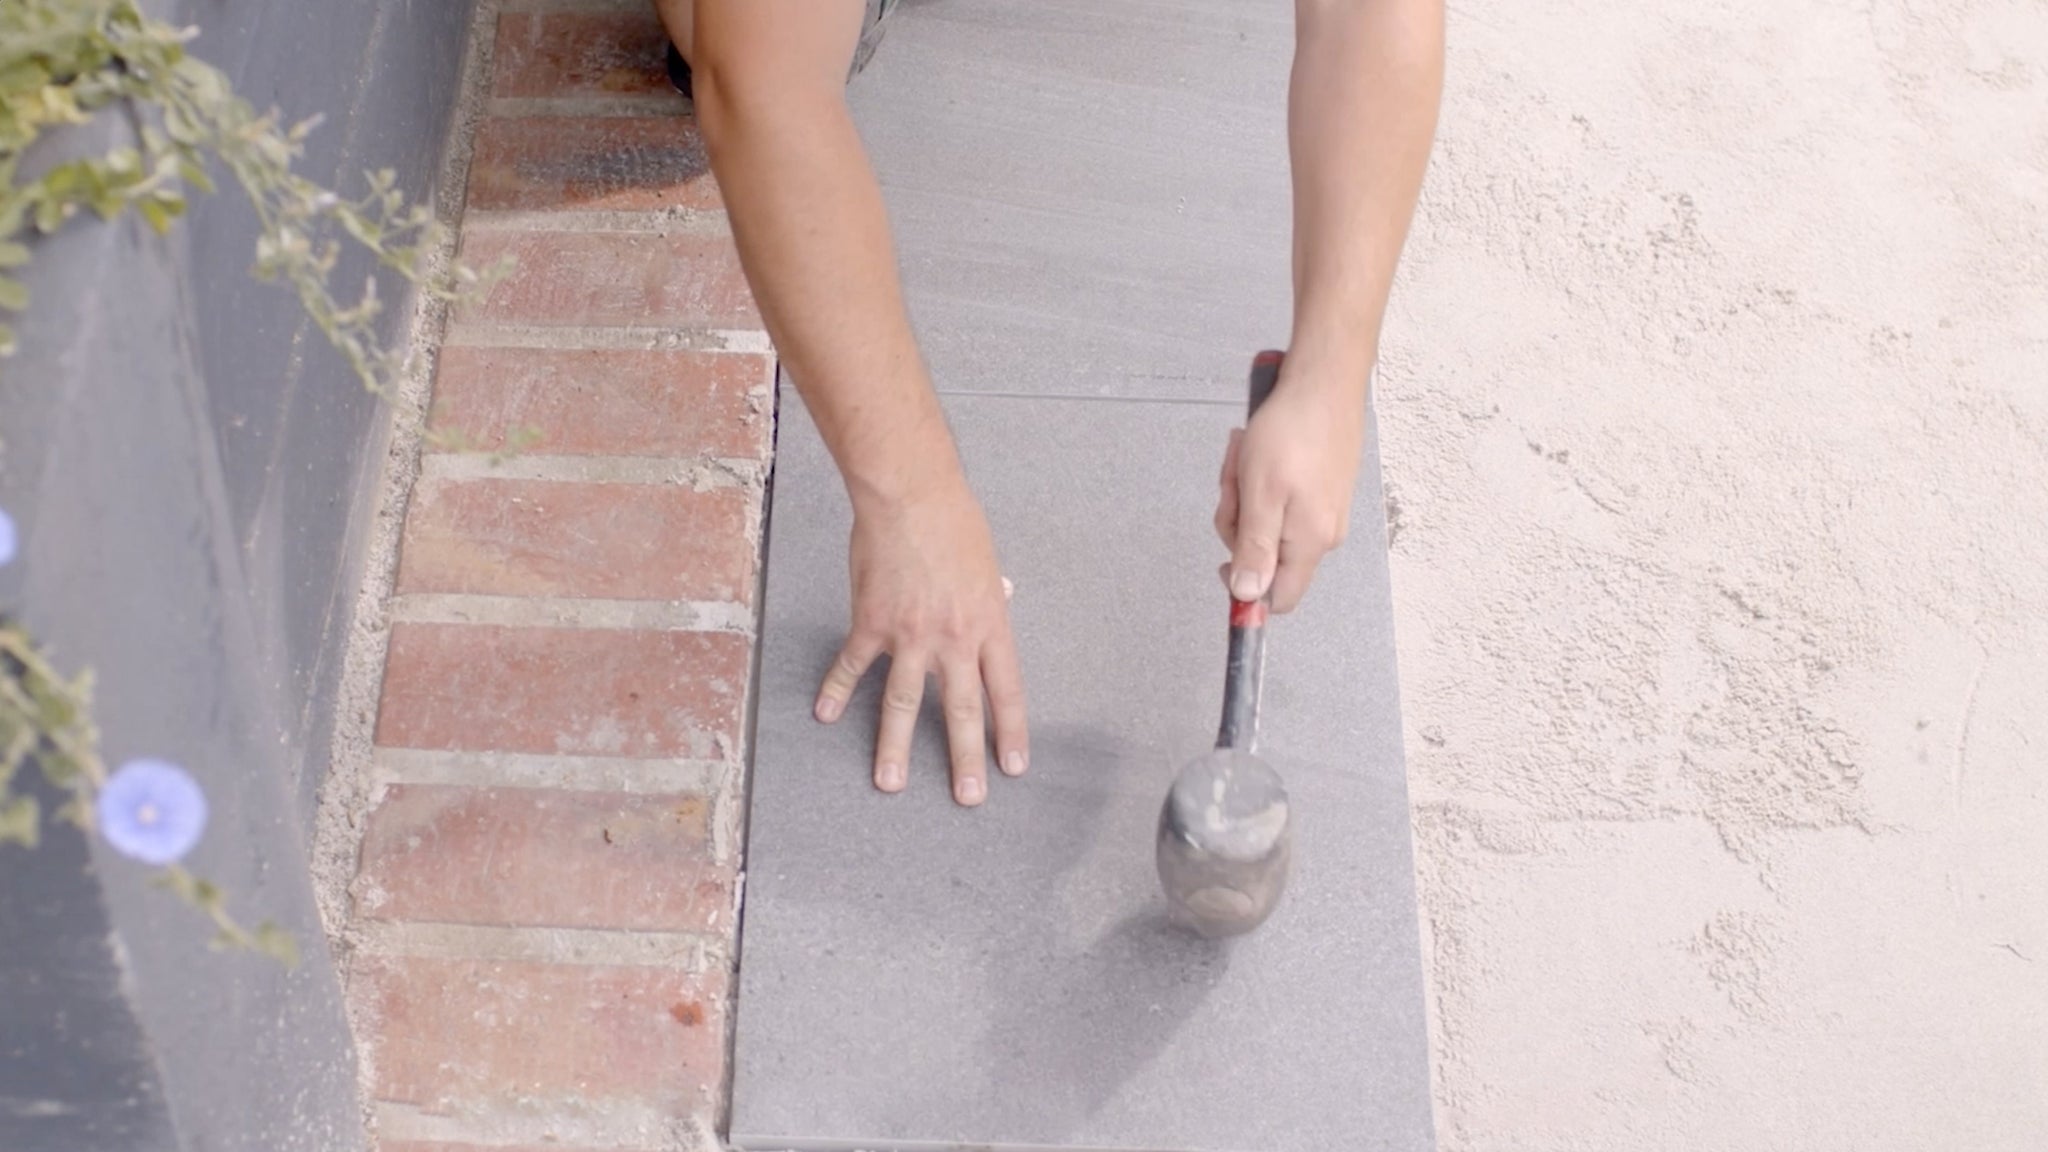
Step 3: Lay the Pavers
With your sand base in place, you're ready to start laying the pavers:
- Start at a Fixed Edge: Begin laying your pavers at a straight, fixed edge (such as a wall or kerb) for a clean line.
- Place the Pavers: Gently place each paver onto the sand bed. Use a rubber mallet or hand tamper to tap them lightly into place.
- Spacing: Ensure there's a 2-5mm gap between each paver to allow for expansion and contraction with temperature changes. This gap also makes room for sand filling.
Important: Never walk on the screeded sand — always walk on the laid pavers to avoid disturbing the base.
Step 4: Compaction and Joint Filling
Once all the pavers are laid, it's time to compact them and fill the joints:
- Compaction: Compact the pavers using a high-frequency, low-amplitude plate compactor. Perform at least three passes over the pavers, ensuring they are level and set into the sand.
- Compactor Protection: To avoid damaging the pavers, cover the metal base of the compactor with a 12mm plywood sheet or thick rubber-backed carpet square.
- Joint Sand: Before compacting, spread a thin layer of joint-filling sand evenly over the pavers. This helps the compactor move smoothly and reduces the risk of surface damage.
- Fill the Joints: After compaction, brush clean, dry sand into the joints until they are filled. Sweep off any excess sand and repeat the process for any new sections until all joints are filled.
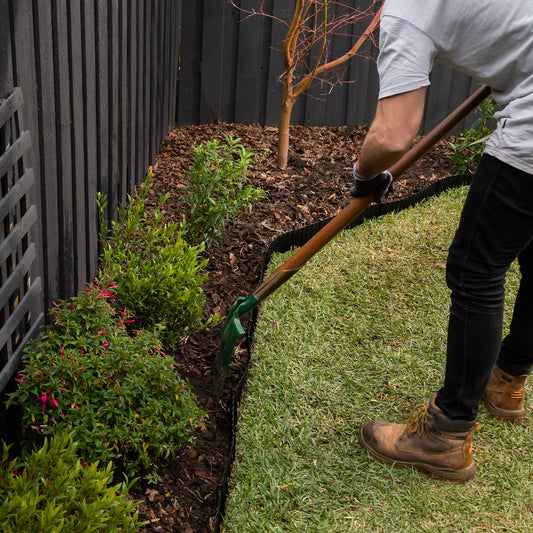
Step 5: Install Edge Restraints
To keep your pavers in place, edge restraints are essential:
- Subgrade and Sub-base: Compact the subgrade and sub-base beneath the edge restraint, ensuring it extends at least 100mm beyond the outer edge of the restraint.
- Install Edge Restraints: Use pre-mixed concrete (20:14 mix, 20mpa, 14mm aggregate size) or a site-mixed equivalent. Install the edge restraint to a depth of 100mm, ensuring it extends under the pavers and creates a 'lip' that prevents the pavers from spreading.
Step 6: Final Touches and Cleaning
Once the installation is complete, give the area a final clean:
- Sweeping: Brush the paving with a soft broom to remove any remaining debris or dust.
- Cleaning the Pavers: Use a household cleaner or low-pressure washer to clean the surface if needed. No sealing is required for Tuscan Path Porcelain Pavers — they are naturally chemical, mildew, and scratch resistant, and low maintenance.
Step 7: Enjoy Your Beautiful New Paved Area!
Your new porcelain-paved area is ready for use! Step back and admire your work. With the durability of Tuscan Path Porcelain Pavers, you'll enjoy a stunning, low-maintenance outdoor space for years to come.
Final Tips:
- Extra Pavers: If you're working on a large area, it's always a good idea to purchase an extra 5-10% of pavers to cover for any wastage, breakages, or future repairs.
- Safety First: Always wear the necessary safety gear, especially when cutting or compacting pavers.
- Proper Maintenance: While these pavers require minimal maintenance, cleaning them regularly will help maintain their pristine appearance.
Tuscan Path Porcelain Pavers are built to withstand Australia's harsh weather conditions, and with their sleek finishes — Charcoal, Sand, Taupe, and Marble — there's a style for every outdoor project. Whether you're installing a garden path or a full driveway, these pavers are tough, durable, and designed for beauty and performance.