How to install Tuscan Path Metal Garden Edging

TOOLS YOU'LL NEED:
Before you start, make sure you have the following tools on hand:
Shovel
Pencil
Mallet
Tin snips
Safety glasses and gloves
Edging pegs
(sold separately)
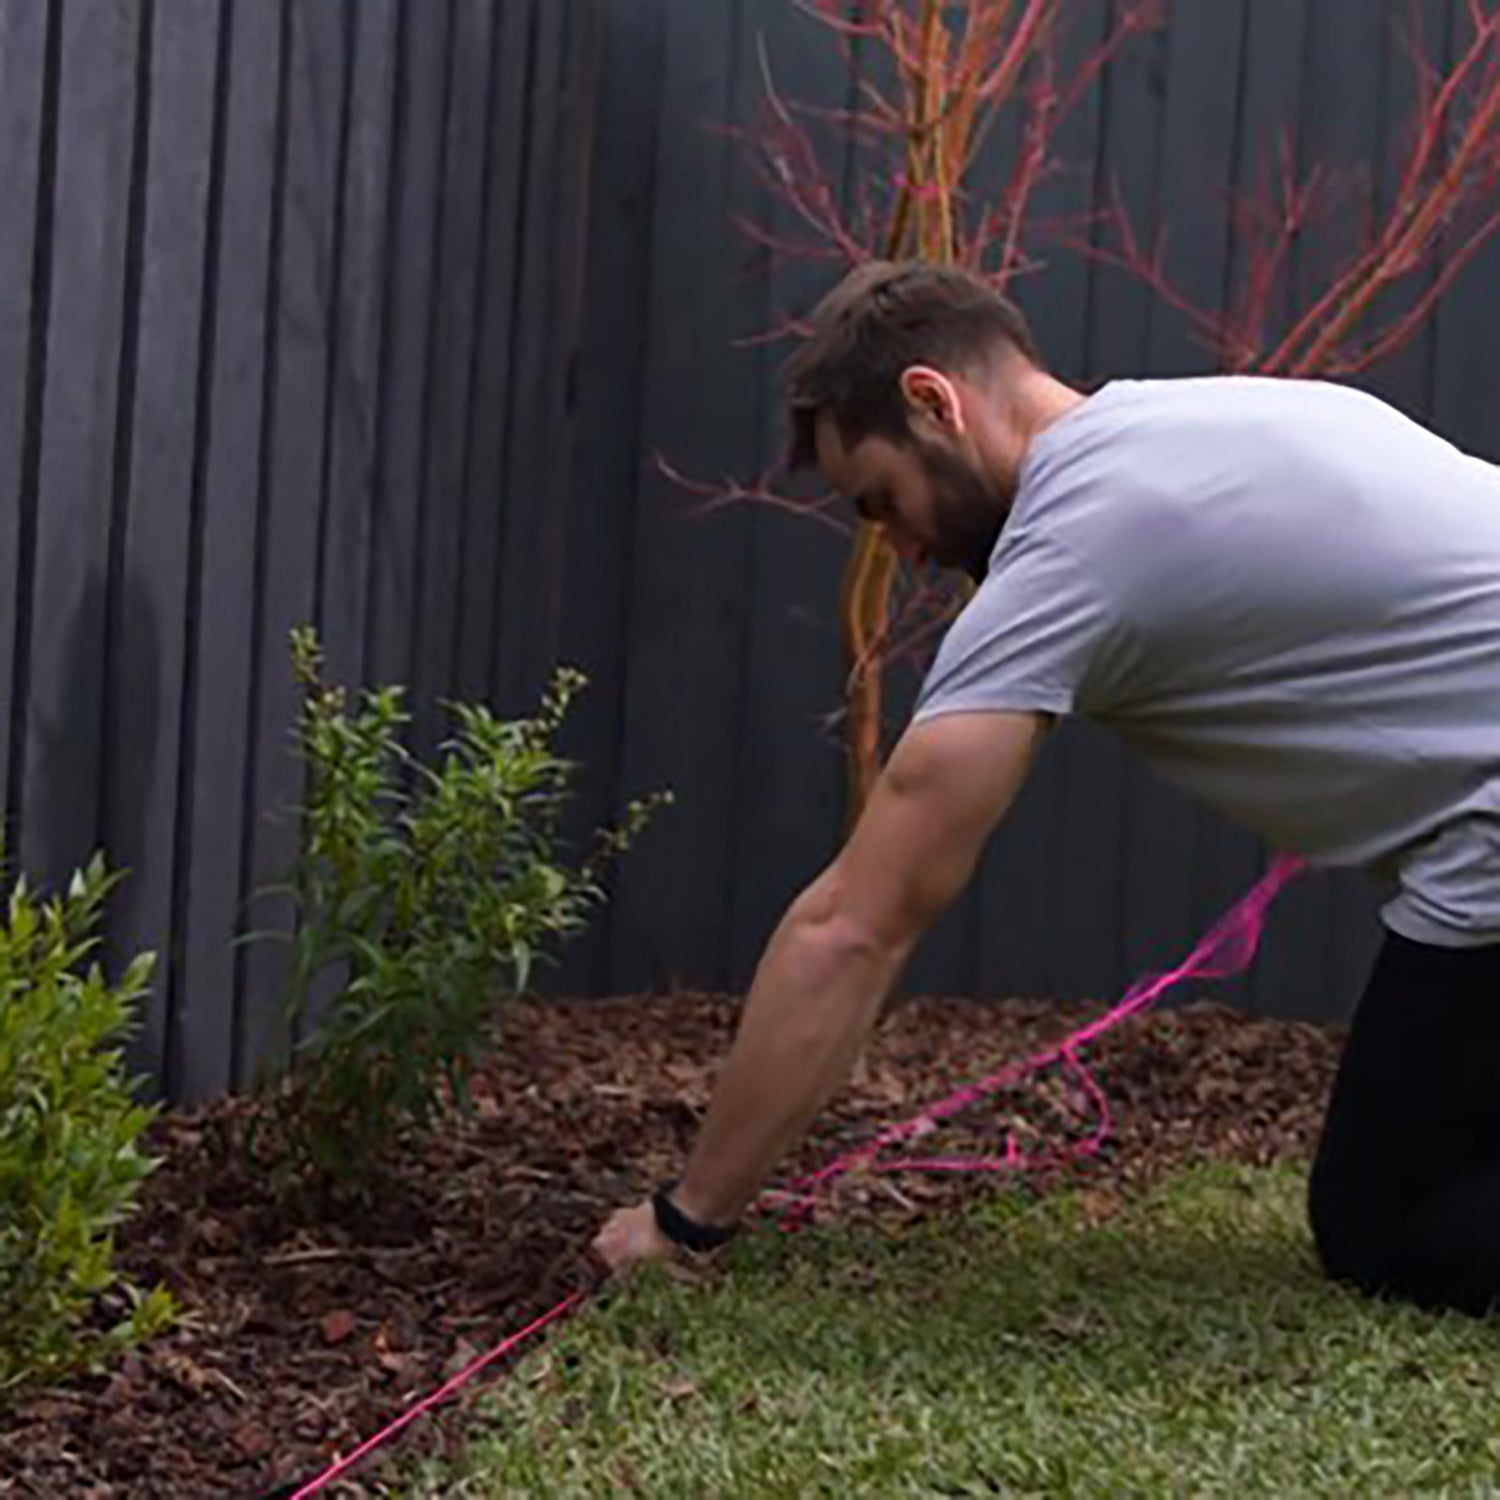
Step 1: Measure Your Area
First, you need to figure out how much edging you'll need:
- Lay out a string line along the perimeter of your garden bed or path to guide your measurements.
- Measure the length of the string line and record the total length.
For example, if your garden bed is 15 meters long, here's how to calculate how much edging you need:
- 15 meters ÷ 6 meters (length of each piece of edging) = 2.5 pieces
- Round up to the nearest whole number, so you'll need 3 pieces of edging.
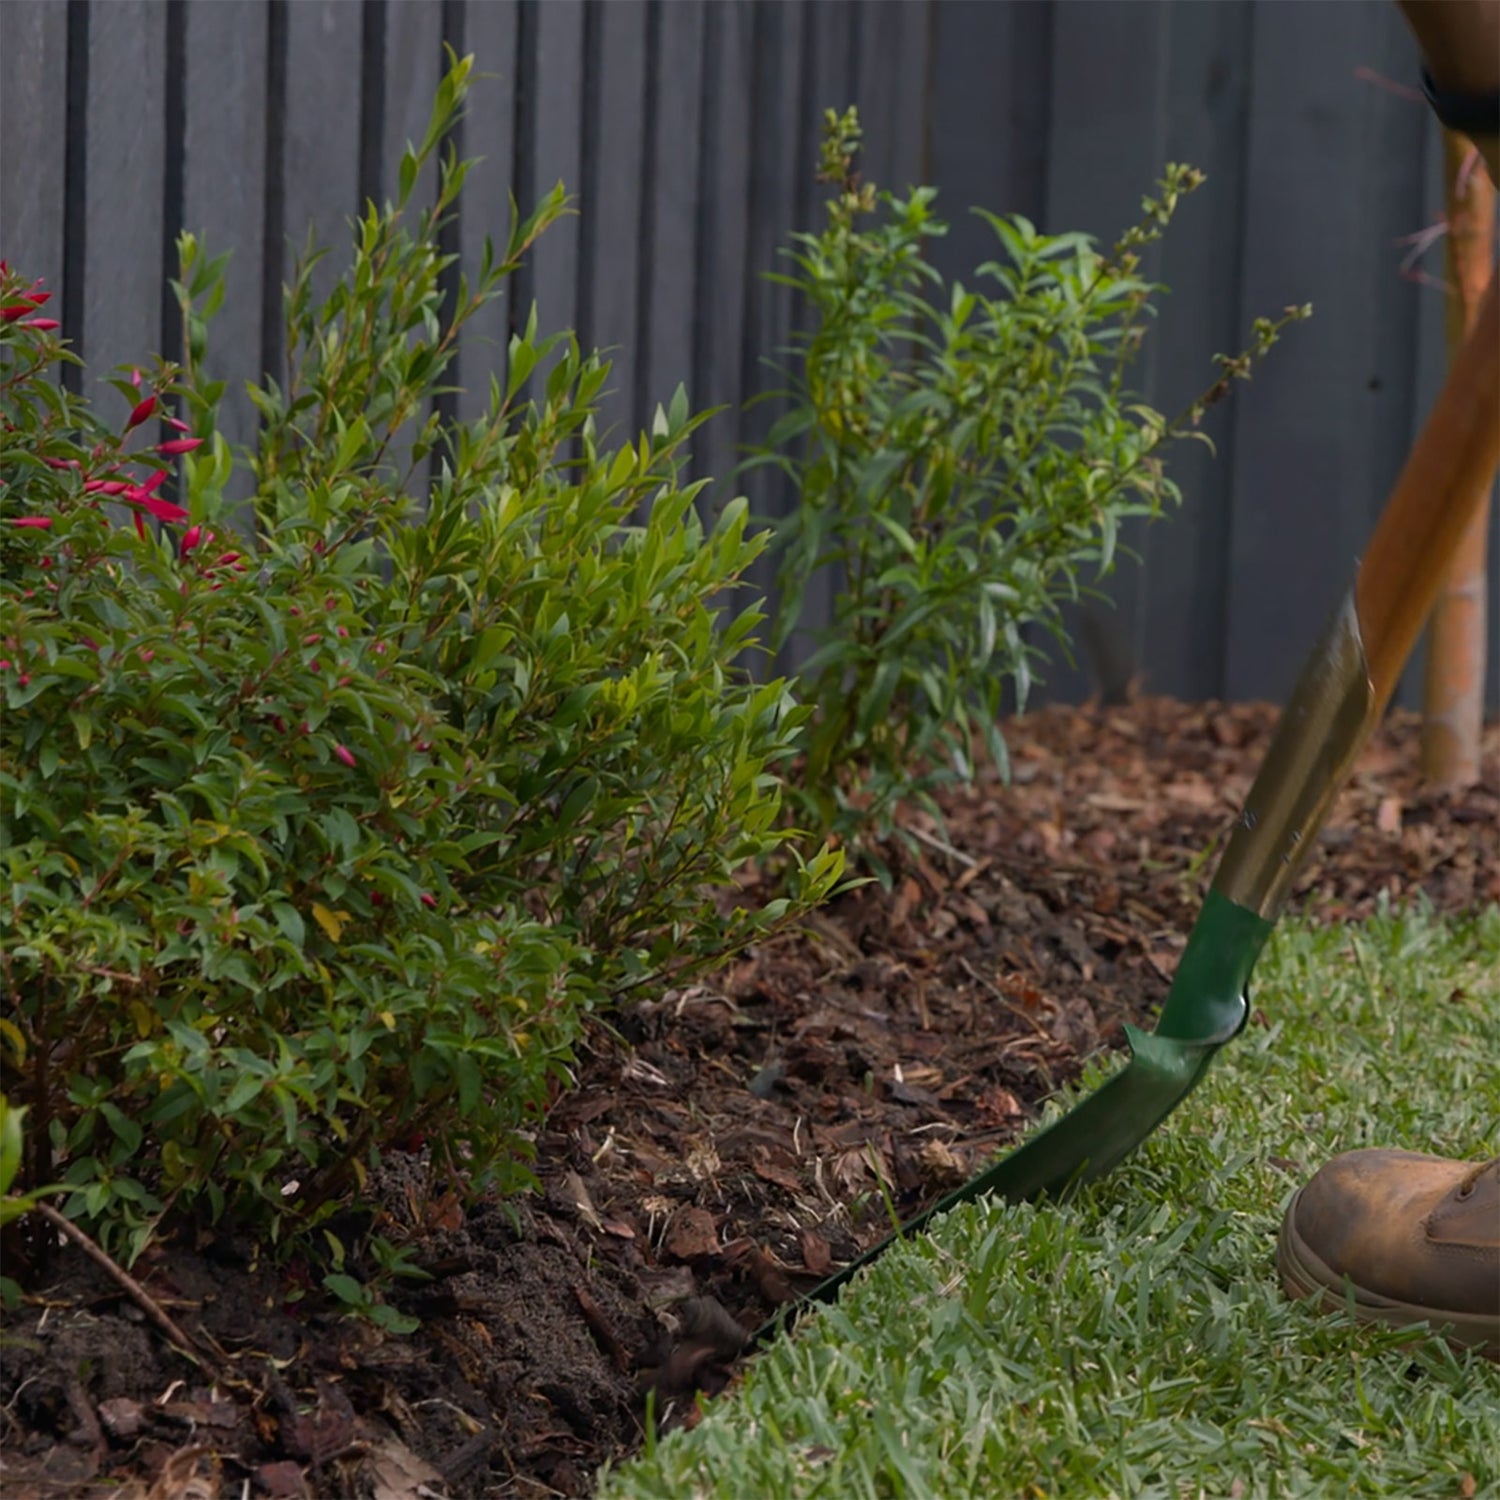
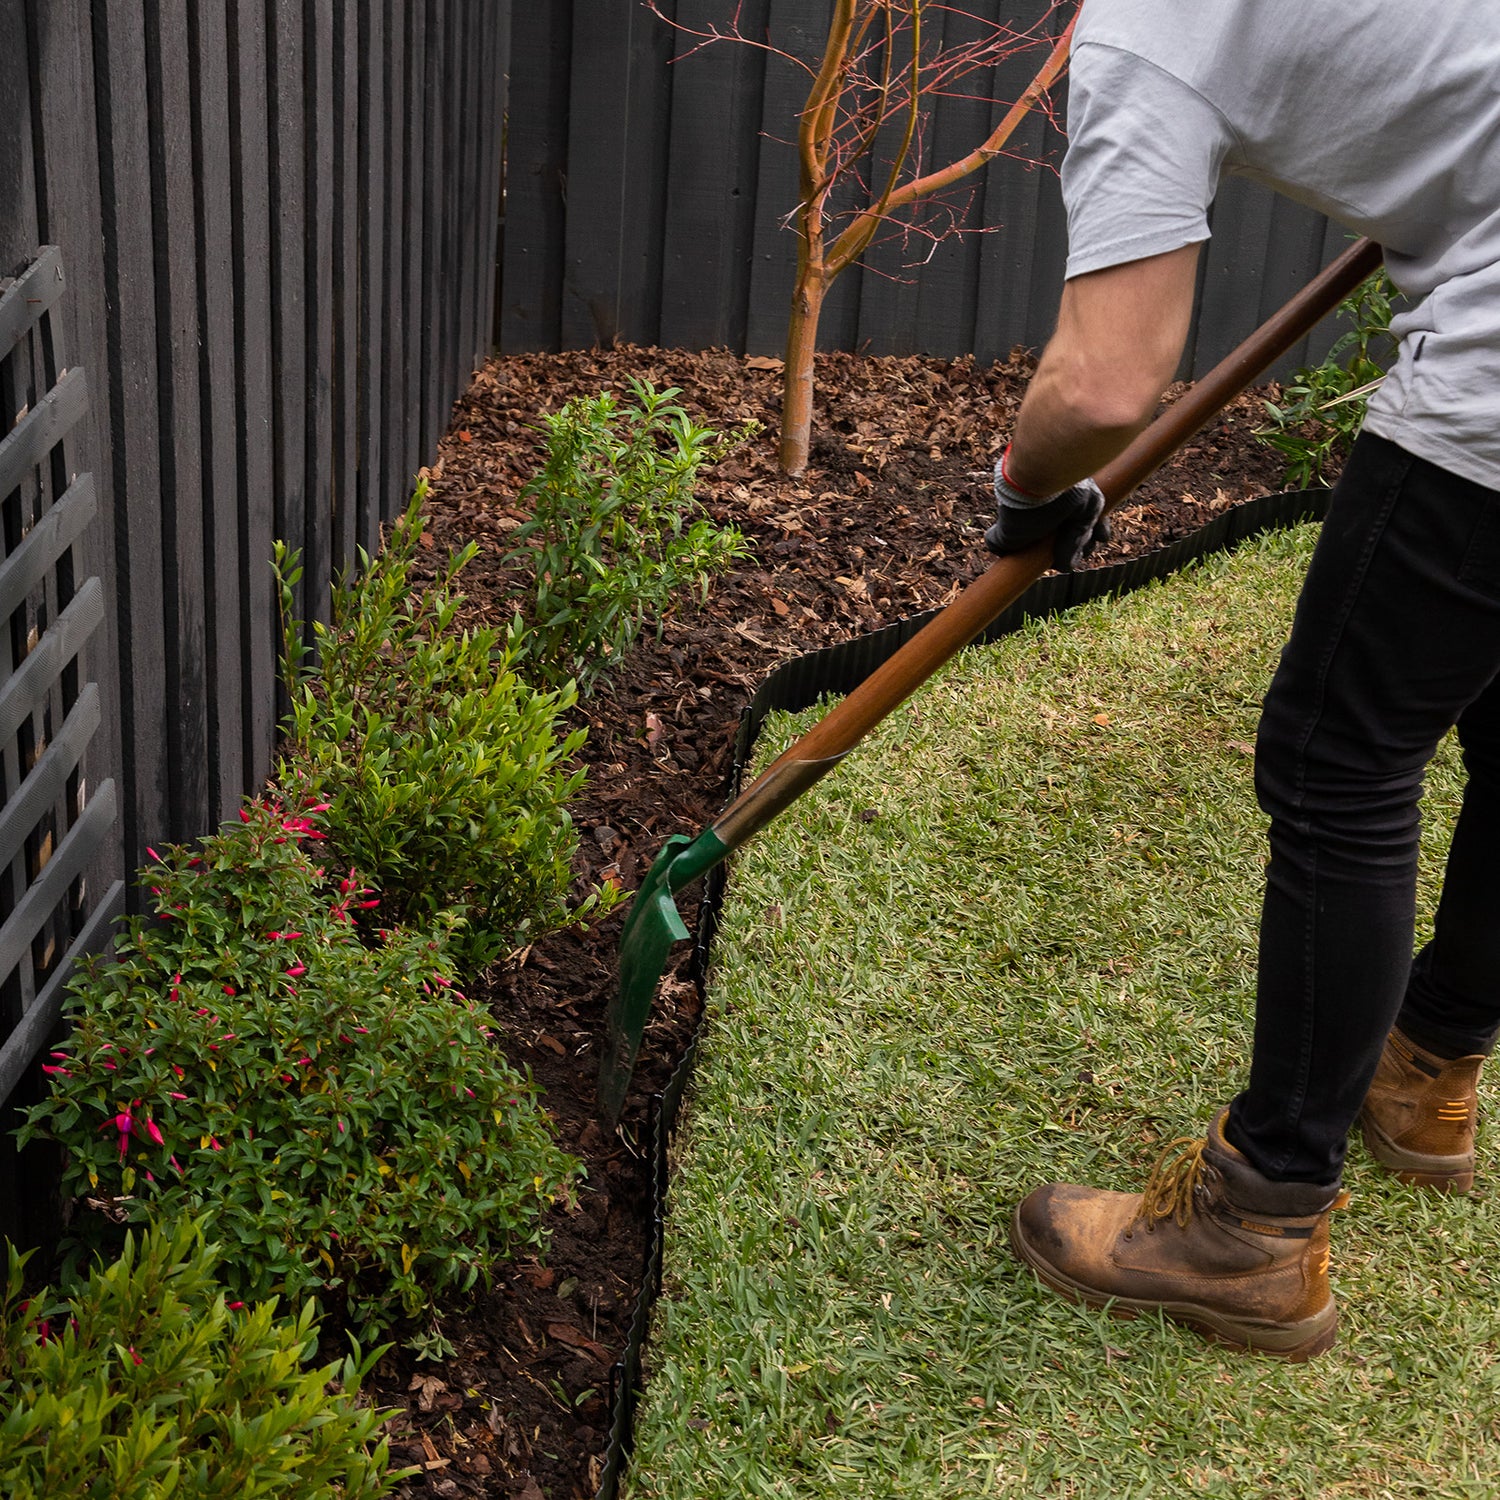
Step 2: Prepare the Area
Next, prepare the area for installation:
- Dig a trench along the string line, making sure the depth is approximately half the height of the edging. This will help the metal sit securely in place.
- Ensure the trench is level and even for the best results.
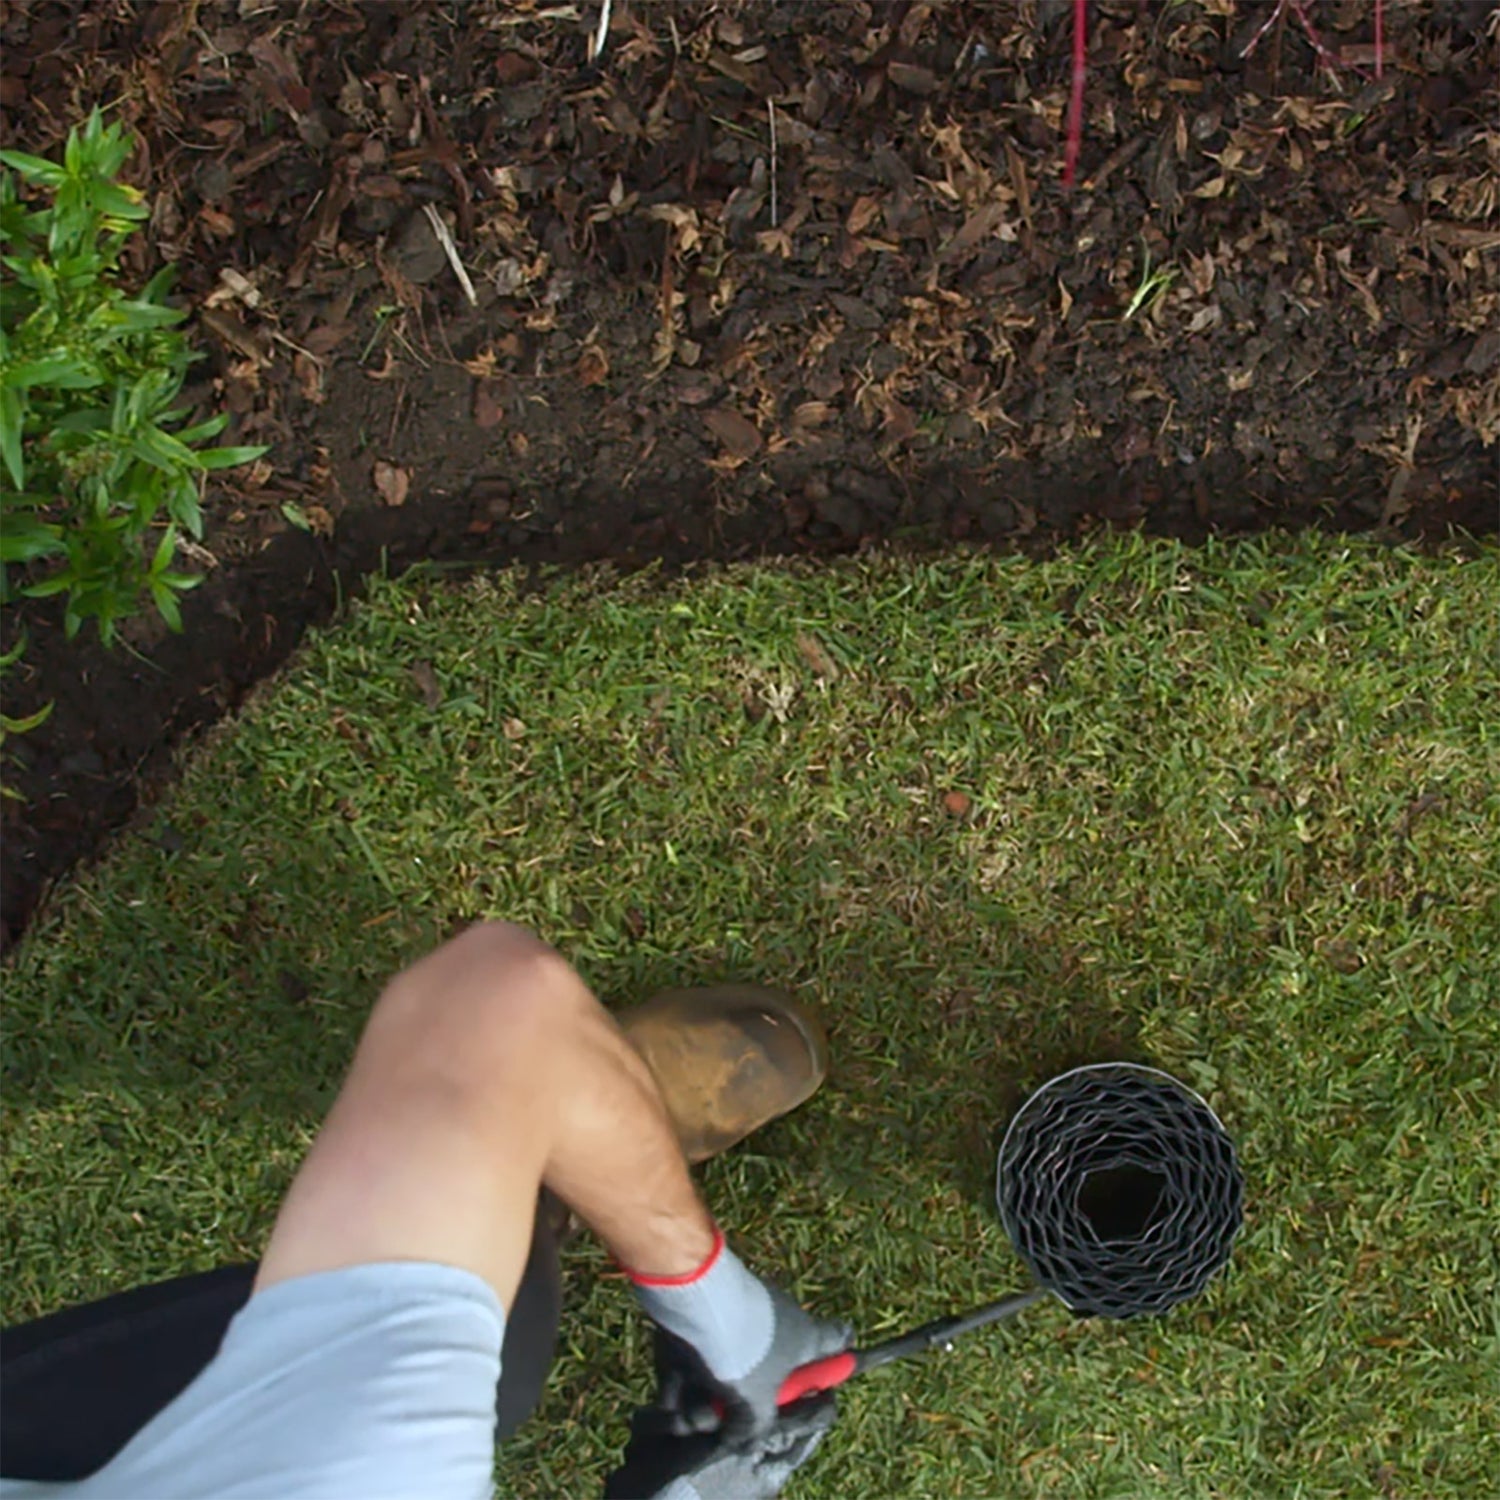
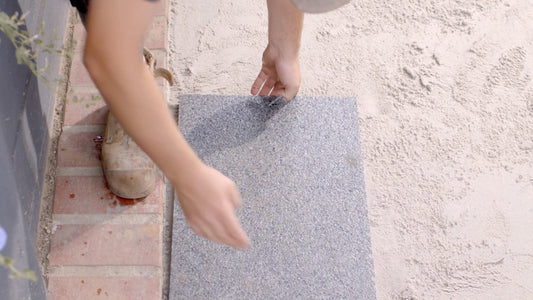
Step 3: Unroll the Metal Edging
Once the trench is ready, it's time to start installing the edging:
- Unroll the metal edging carefully. Be mindful that the roll is under tension, so it may uncoil quickly.
- Step back when cutting the strap holding the roll, and make sure to wear your safety goggles and gloves during this step to avoid any injury.

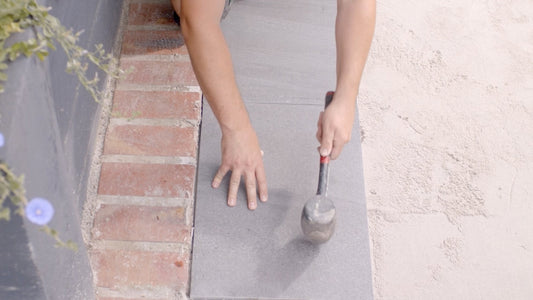
Step 4: Install the First Piece of Edging
Now, let's get the edging in place:
- Position the first piece of metal edging in the trench.
- Secure it by placing a peg at the starting point and tapping it into place with a mallet. This will lock the edging into position.
- Continue rolling the edging along the trench, securing each piece with pegs spaced evenly (about every 0.5 meters).
- Make sure to place pegs at both ends of each piece of edging and at the joint between two pieces to keep the edging even and secure.

Step 5: Measure and Mark for Cutting
When you reach an area where a full piece of edging won't fit, it's time to make a cut:
- Position the next piece of edging along the remaining area.
- Mark where you need to cut using a pencil to ensure a precise measurement.
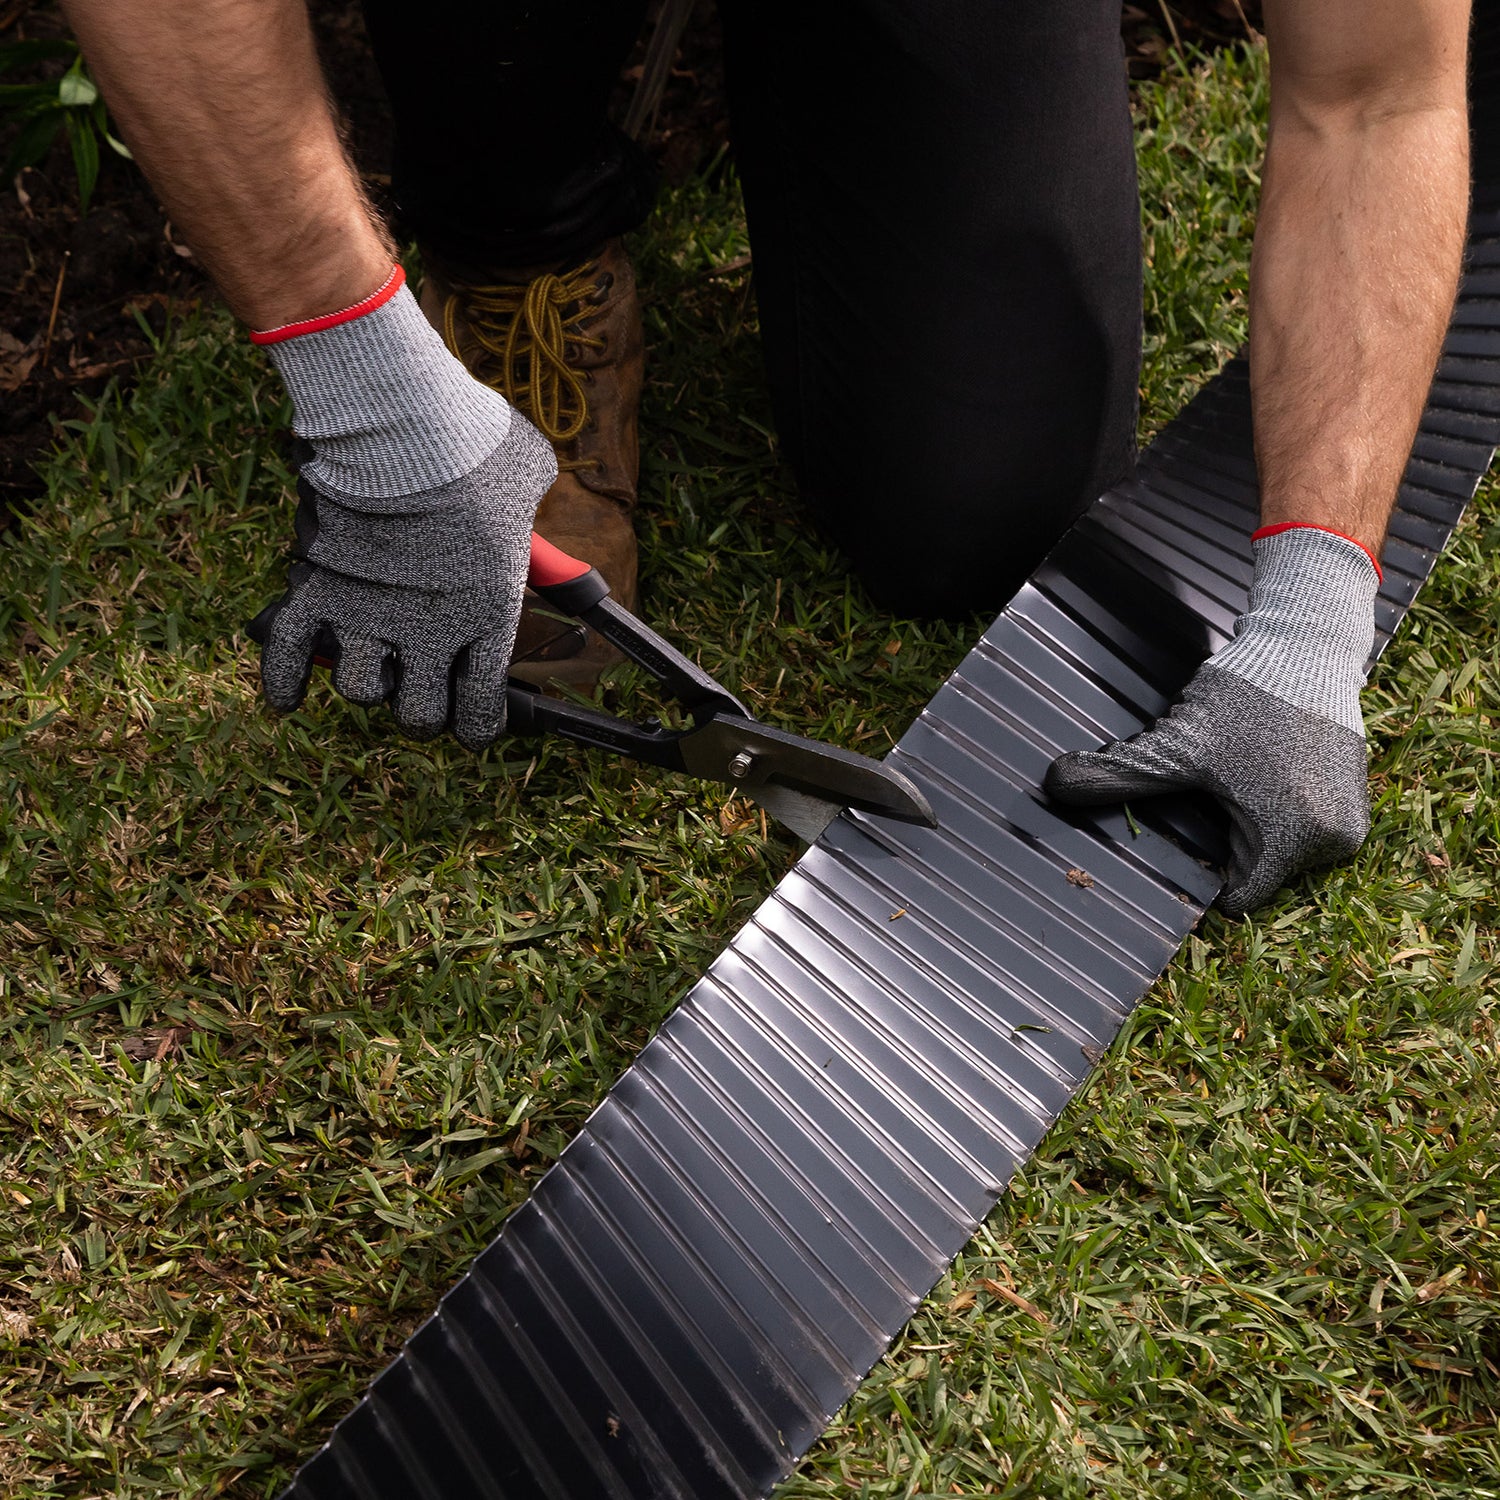
Step 6: Cut the Edging to Size
Here's how to make the cut:
- Use tin snips to carefully cut along the marked line. Be sure to wear your safety glasses and gloves while cutting, as the metal edges can be sharp.
- After cutting, place the final piece of edging in the trench and secure it just like the others, using pegs every 0.5 meters and at the joints.
Step 7: Fill in the Trench
For added stability and a polished look:
- Fill in the gap behind the edging with the soil you removed earlier.
- Ensure that the edging is level and properly aligned, making any necessary adjustments.
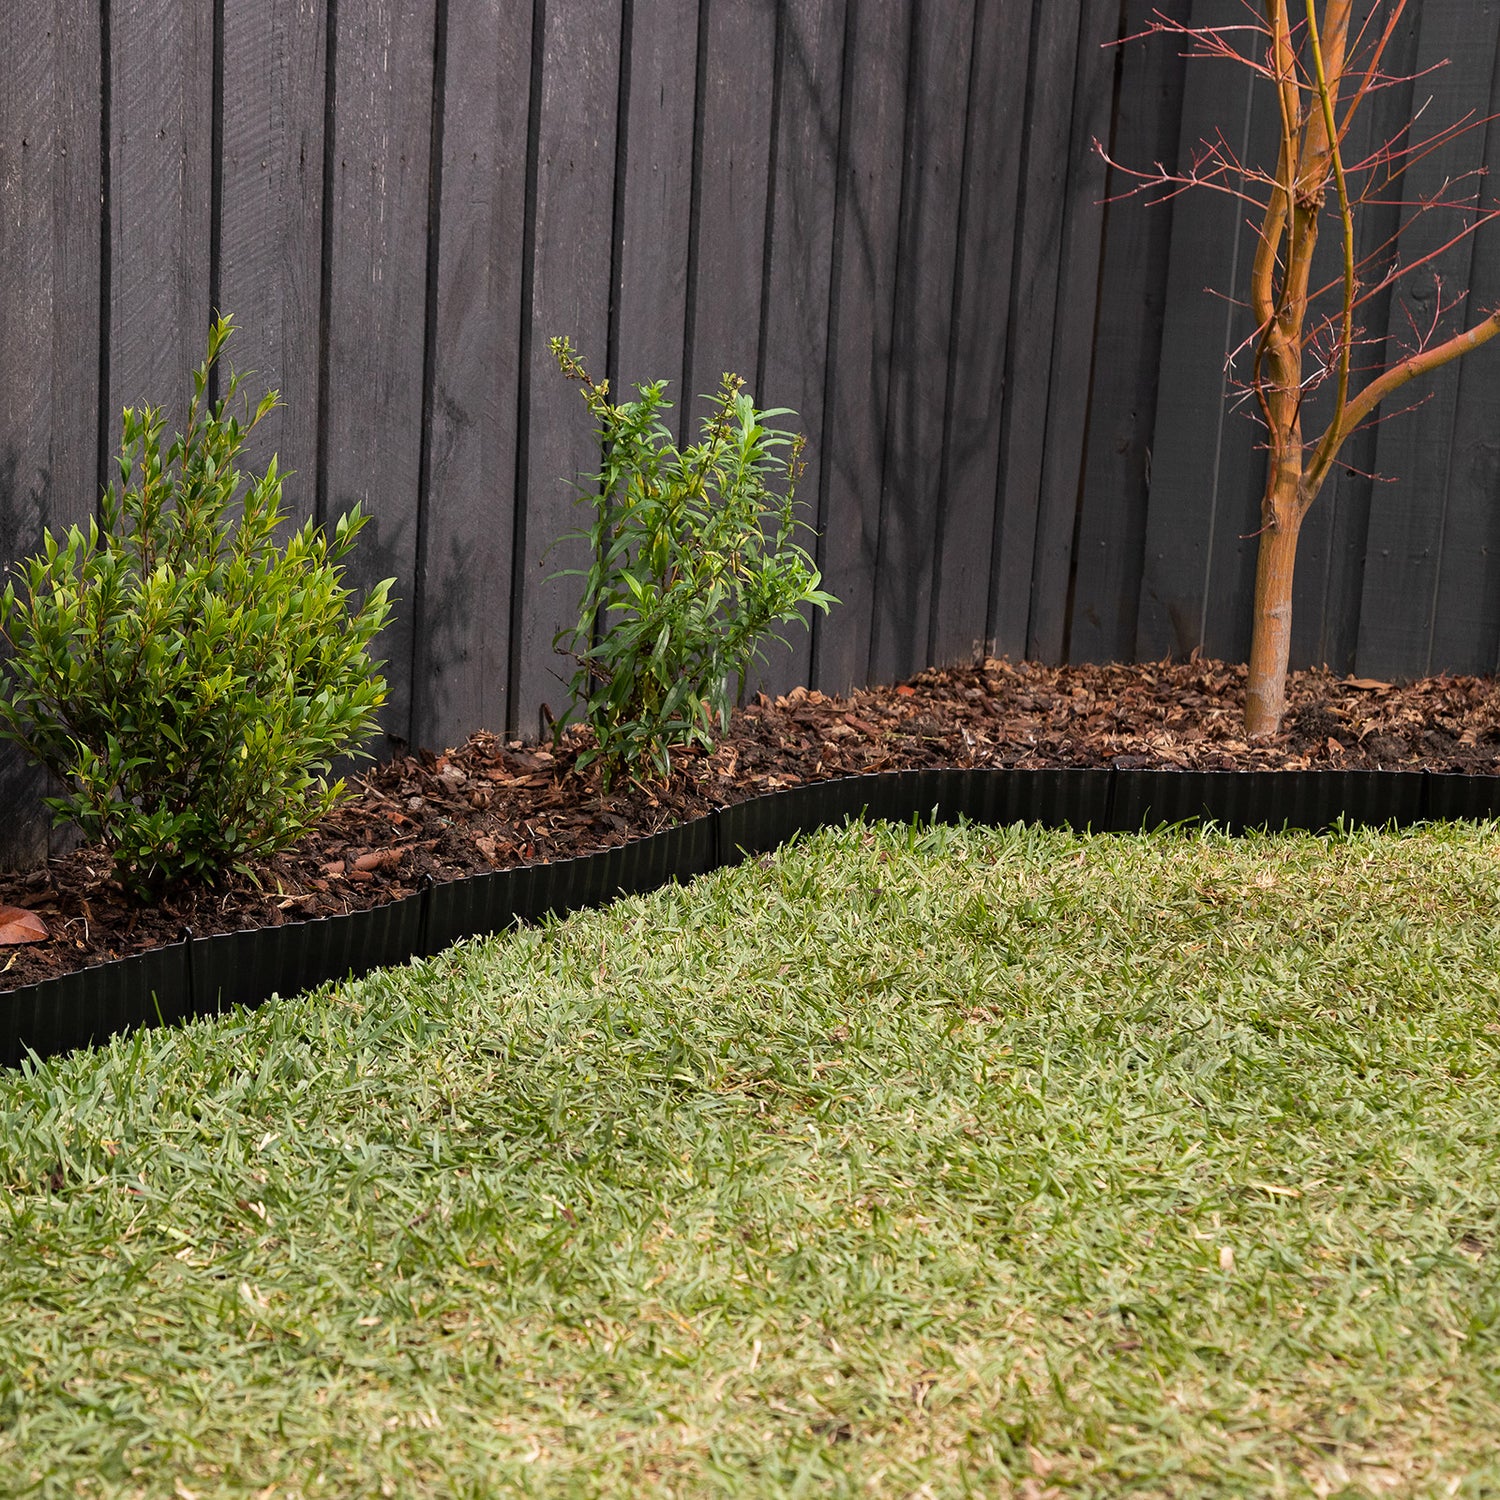
Step 8: Enjoy Your Beautiful New Metal Garden Edging!
Once all the pieces are installed and the trench is filled, step back and admire your work! You've now completed the installation of your Tuscan Path Metal Garden Edging, giving your garden a clean, modern look that will last for years.
- Always wear safety glasses and gloves when handling and cutting the metal edging.
- Double-check your measurements to ensure the edging fits perfectly, and don't hesitate to make minor adjustments if needed.
- Be mindful when unrolling the metal edging, as it's under tension and could uncoil quickly.
With these simple steps, you'll have a stunning and durable border for your garden or path with Tuscan Path Metal Garden Edging!