How to install Tuscan Path Porcelain Pavers on a Concrete Base

TOOLS YOU'LL NEED:
Gather these tools before you begin your project:
Wheelbarrow
Sand and cement mix
Trowel with ½" notches
Angle grinder with a diamond blade
Landscaper's spray paint
Shovel
Rake
String line
Tape measure
Straight edge
Spirit level
Rubber mallet
Bucket and sponge
Safety glasses, earmuffs, and a mask
Pencil
Sawhorse
F-clamps
Grout float or gloves
Kneepads
To begin, figure out how many pavers you'll need. This depends on the size of the area you're paving. For this guide, we'll be working with a 40 m² space, using Tuscan Path 600 x 600 x 20 mm porcelain pavers laid in a stack bond pattern.
Pro Tip: We recommend adding 10% extra pavers to account for breakages or cuts.
Now, let's prepare your concrete base:
- Clear the Area: Begin by removing any loose debris from the area where you plan to install the pavers. You want the surface to be clean and smooth before moving forward.
- Create a Solid Base: If you're laying pavers over a dirt surface, make sure to excavate and compact a layer of crusher dust or road base before proceeding. For a concrete slab, make sure it's level and free from any cracks.
Now that your concrete base is prepared, let's get the mortar ready:
- Mix Mortar: Prepare a mortar mix of sand and cement in a wheelbarrow. Aim for a consistency thick enough to hold the pavers in place but not so stiff that it's difficult to spread.
- Apply Mortar: Using your trowel, spread a 30-50mm thick layer of mortar over the area where you'll place the first paver. The dimensions of this layer should roughly match the paver's size.
It's time to start laying pavers!
- Apply Paver Adhesive: Apply paver adhesive to the underside of the first porcelain paver.
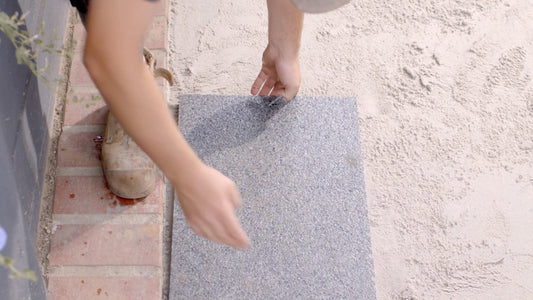
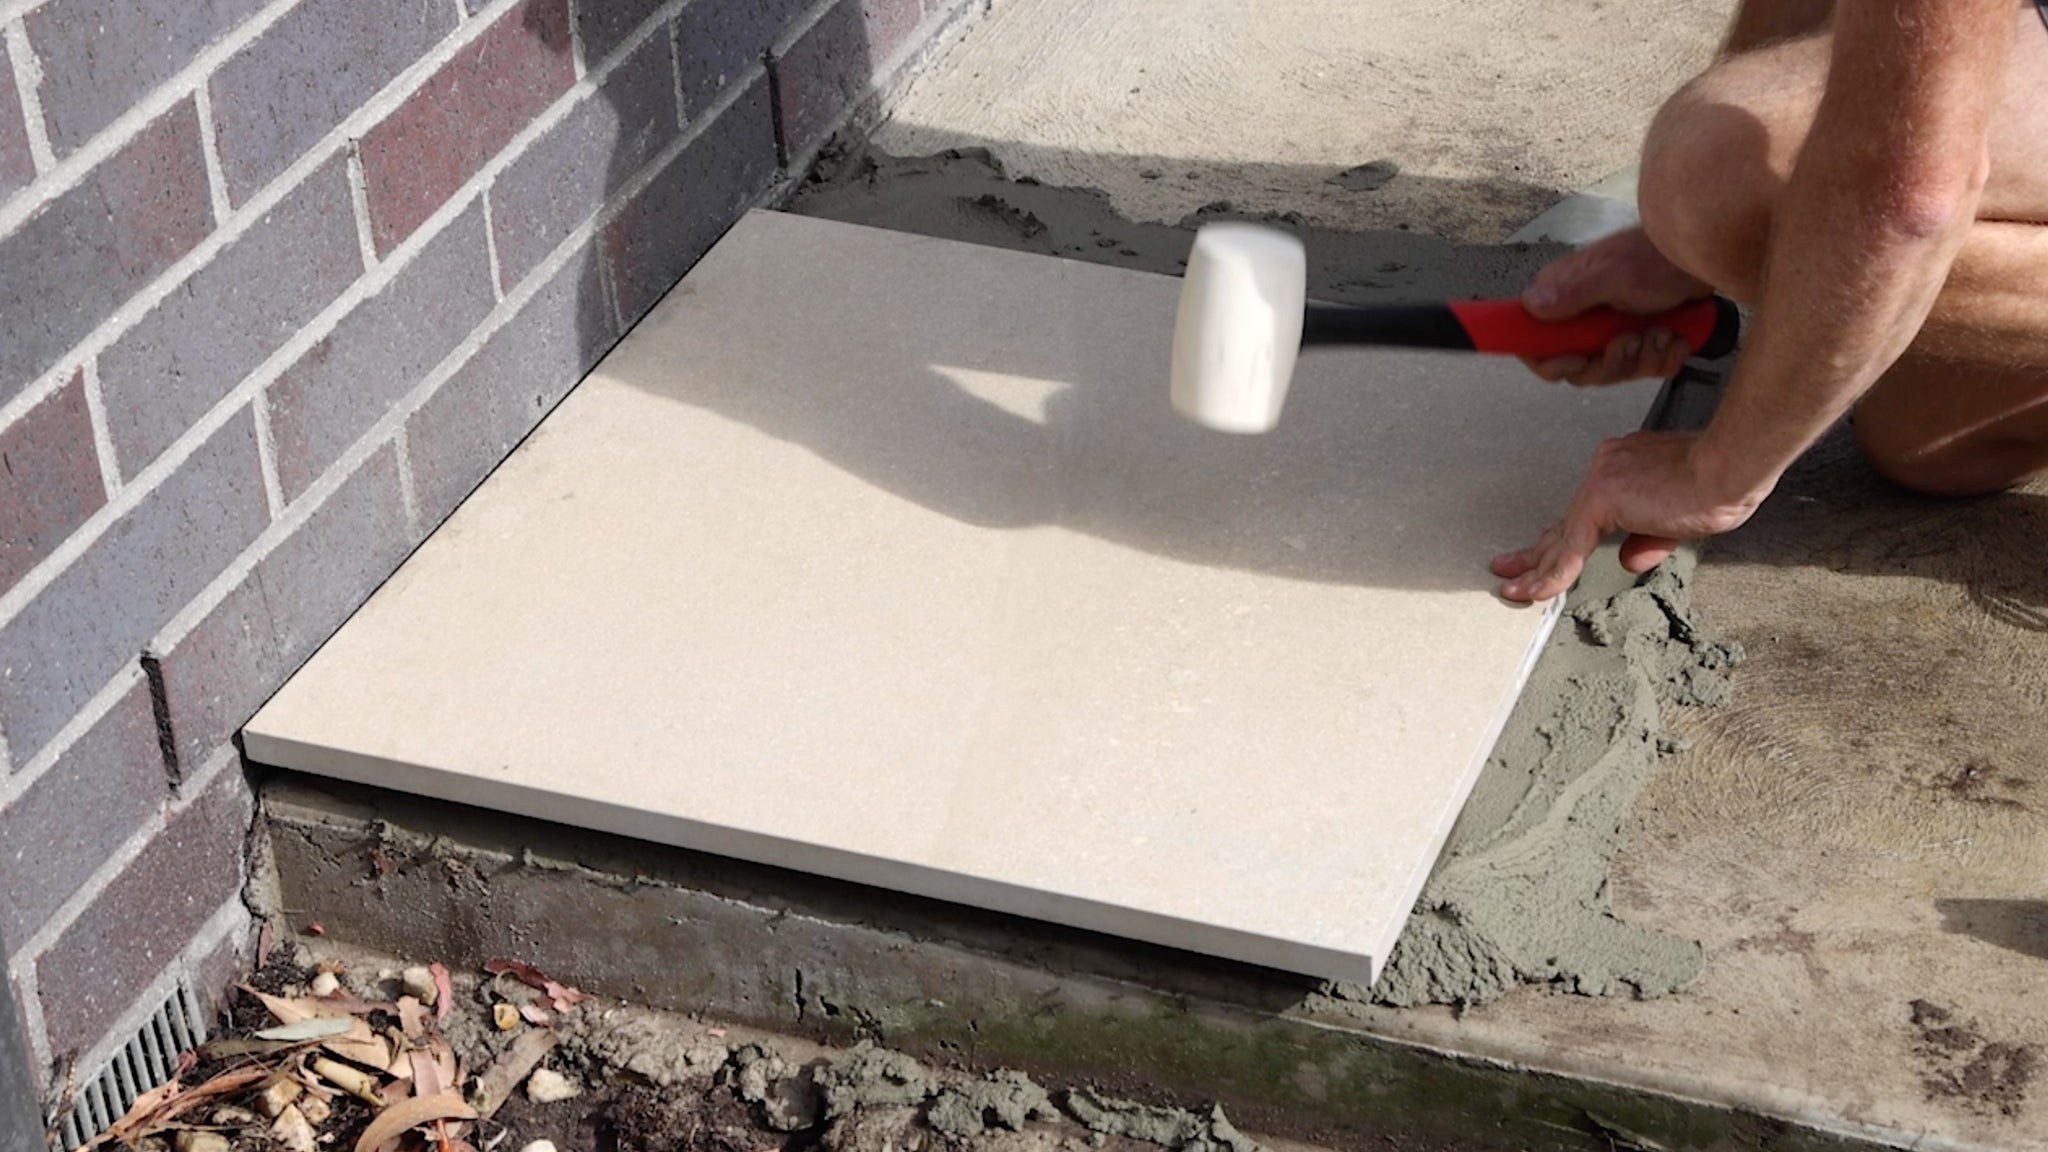
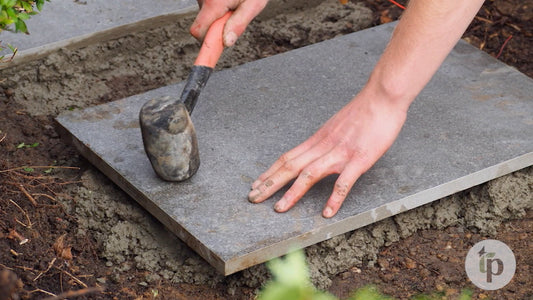
- Position the Paver: Place the paver onto the mortar bed, pressing gently to secure it in place.
- Level the Paver: Use a rubber mallet to gently tap the paver into position. Then, check for level with a spirit level. If necessary, adjust by tapping gently with the mallet until it's perfectly level.
Tip: Run a string line along your project area to guide the pavers and ensure they stay in a straight line as you work.
Now that the first paver is in place, continue laying the rest:
- Repeat the Process: For each subsequent paver, create a similar bed of mortar, apply adhesive to the bottom of the paver, and position it with a 5mm gap between the previous one.
- Check Alignment: Use the spirit level and rubber mallet as you go, ensuring that each paver is perfectly level and flush with the previous one.
- Use Spacers: For a consistent gap, use cross-type spacers between each paver.
Once the first row is complete, continue to the second row:
- Offset the Joints: If you're laying your pavers in a stack bond pattern, ensure the joints between the first and second rows are offset.
- Align with the String Line: Always check that the pavers in each row are aligned with the string line. Adjust with the mallet if needed.
Repeat this process for each row, making sure to maintain a consistent 5mm gap between each paver and keep them level.
When you reach the edges of the area, you'll need to make some cuts to fill the remaining gaps:
- Measure the Gap: Measure the gap between the last laid paver and the edge of the area.
- Mark the Paver: Transfer this measurement onto the paver you need to cut.
- Cut the Paver: Secure the paver to a sawhorse using F-clamps. Use an angle grinder with a diamond blade to make a clean, precise cut.
Pro Tip: Always measure twice, cut once! Take your time to avoid mistakes.
Once the paver is cut, place it into position and check its fit.
With all your pavers in place, it's time to fill in the gaps:
- Prepare the Grout: Mix the grout and apply it generously to the spaces between the pavers.
- Apply Grout: Use a grout float or your gloved hands to fill the gaps. Make sure the grout is pushed down into the joints to avoid any empty spaces.
- Clean the Excess: Once the grout is applied, use a damp sponge to wipe off any excess from the surface of the pavers.
Allow your pavers to set for 24 hours. During this time, avoid walking on them or placing any weight to ensure they settle properly and stay level.
Once the grout has set and the pavers are secure, you're done! Step back and admire your beautiful new outdoor space, now enhanced with the elegance and durability of Tuscan Path Porcelain Pavers.
- Always wear safety gear, including glasses, earmuffs, and a mask, when cutting pavers.
- Take your time when measuring and cutting—accurate measurements lead to better results.
- Ensure proper drainage by leaving small gaps between the pavers to allow water flow.
Now that you've got your pavers installed, enjoy your stunning new outdoor space!